Learn how to configure advanced settings in your ActiveCampaign account, including date and time formatting, Google Analytics tracking, and Bot Sense settings.
Introduction
In this tutorial, we will guide you through the process of configuring advanced settings in your ActiveCampaign account. From adjusting date and time formats to enabling Google Analytics tracking and filtering out bot activity, this step-by-step guide will ensure your account is tailored to your preferences and effectively tracks your engagement metrics.
How to Instructions
1. Accessing Settings
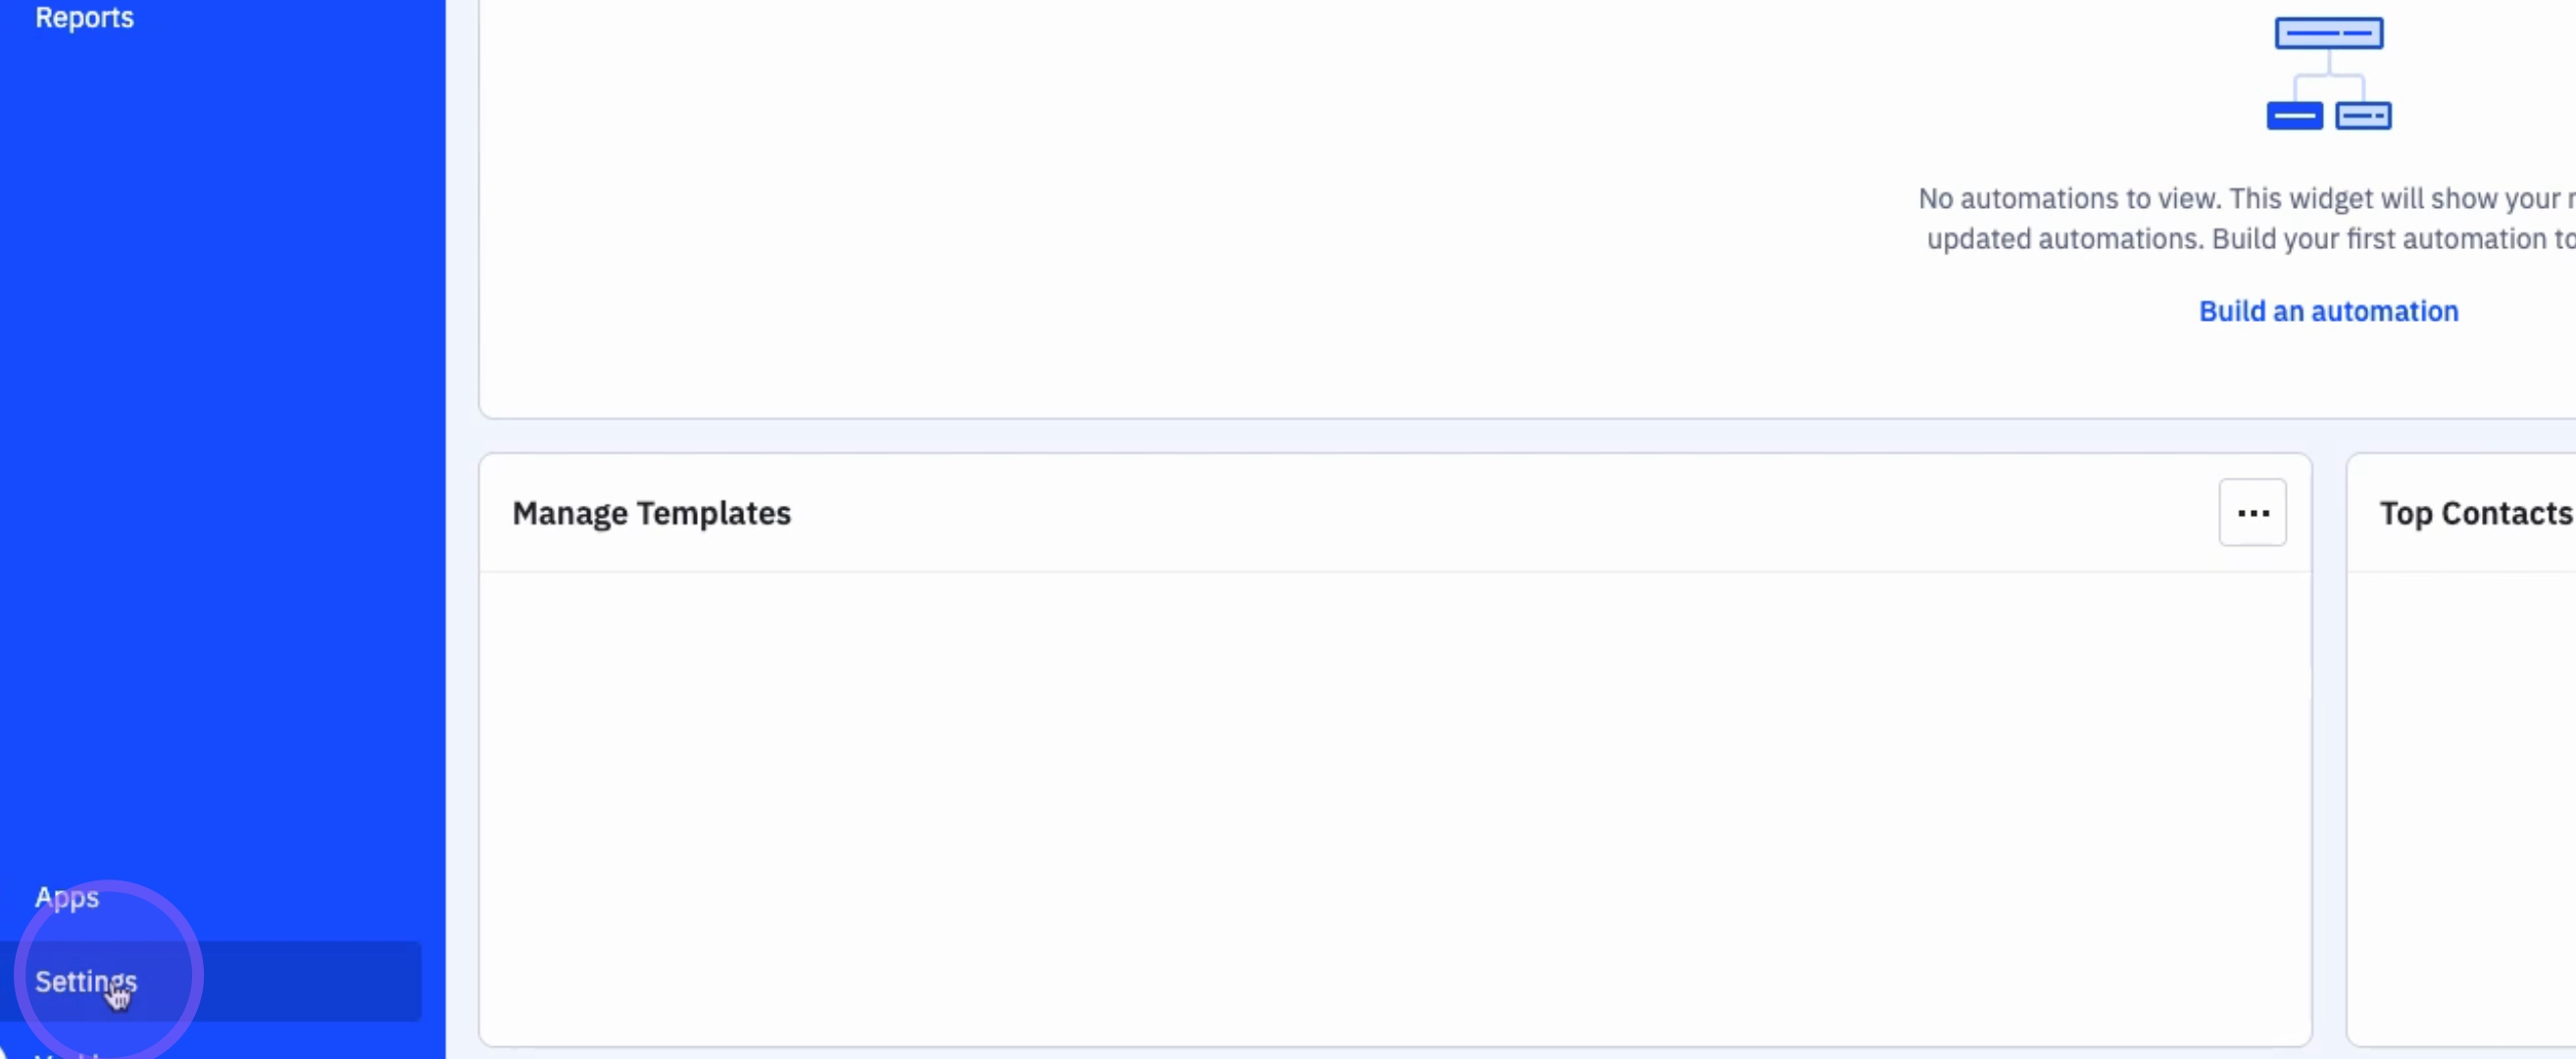
To begin configuring your advanced settings, click on Settings.
2. Navigating to Advanced Settings
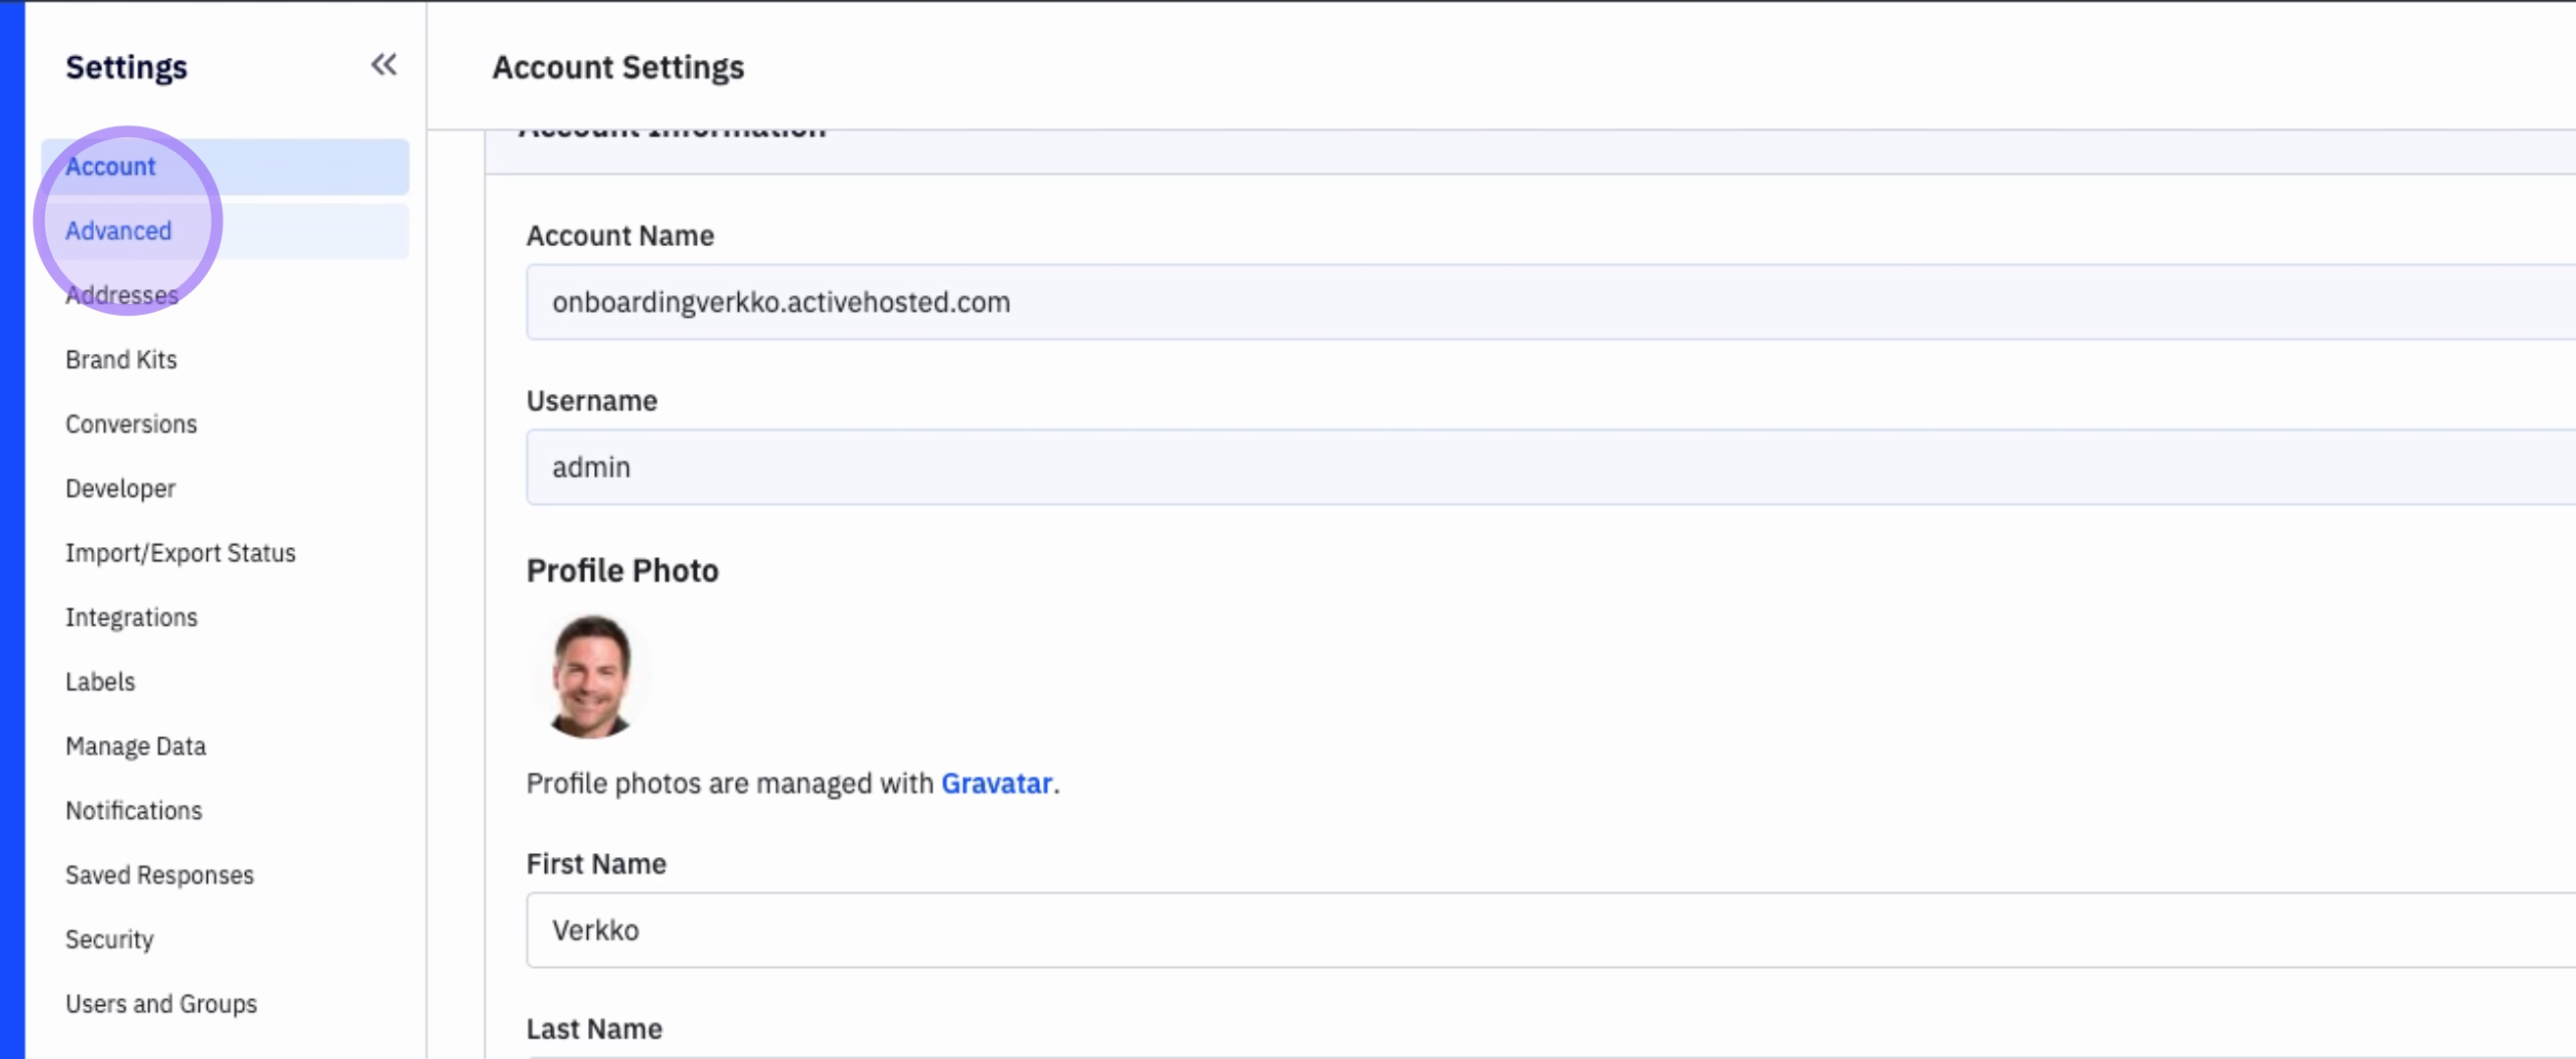
Next, click on Advanced to access the advanced options available for your account.
3. Adjusting Date Format
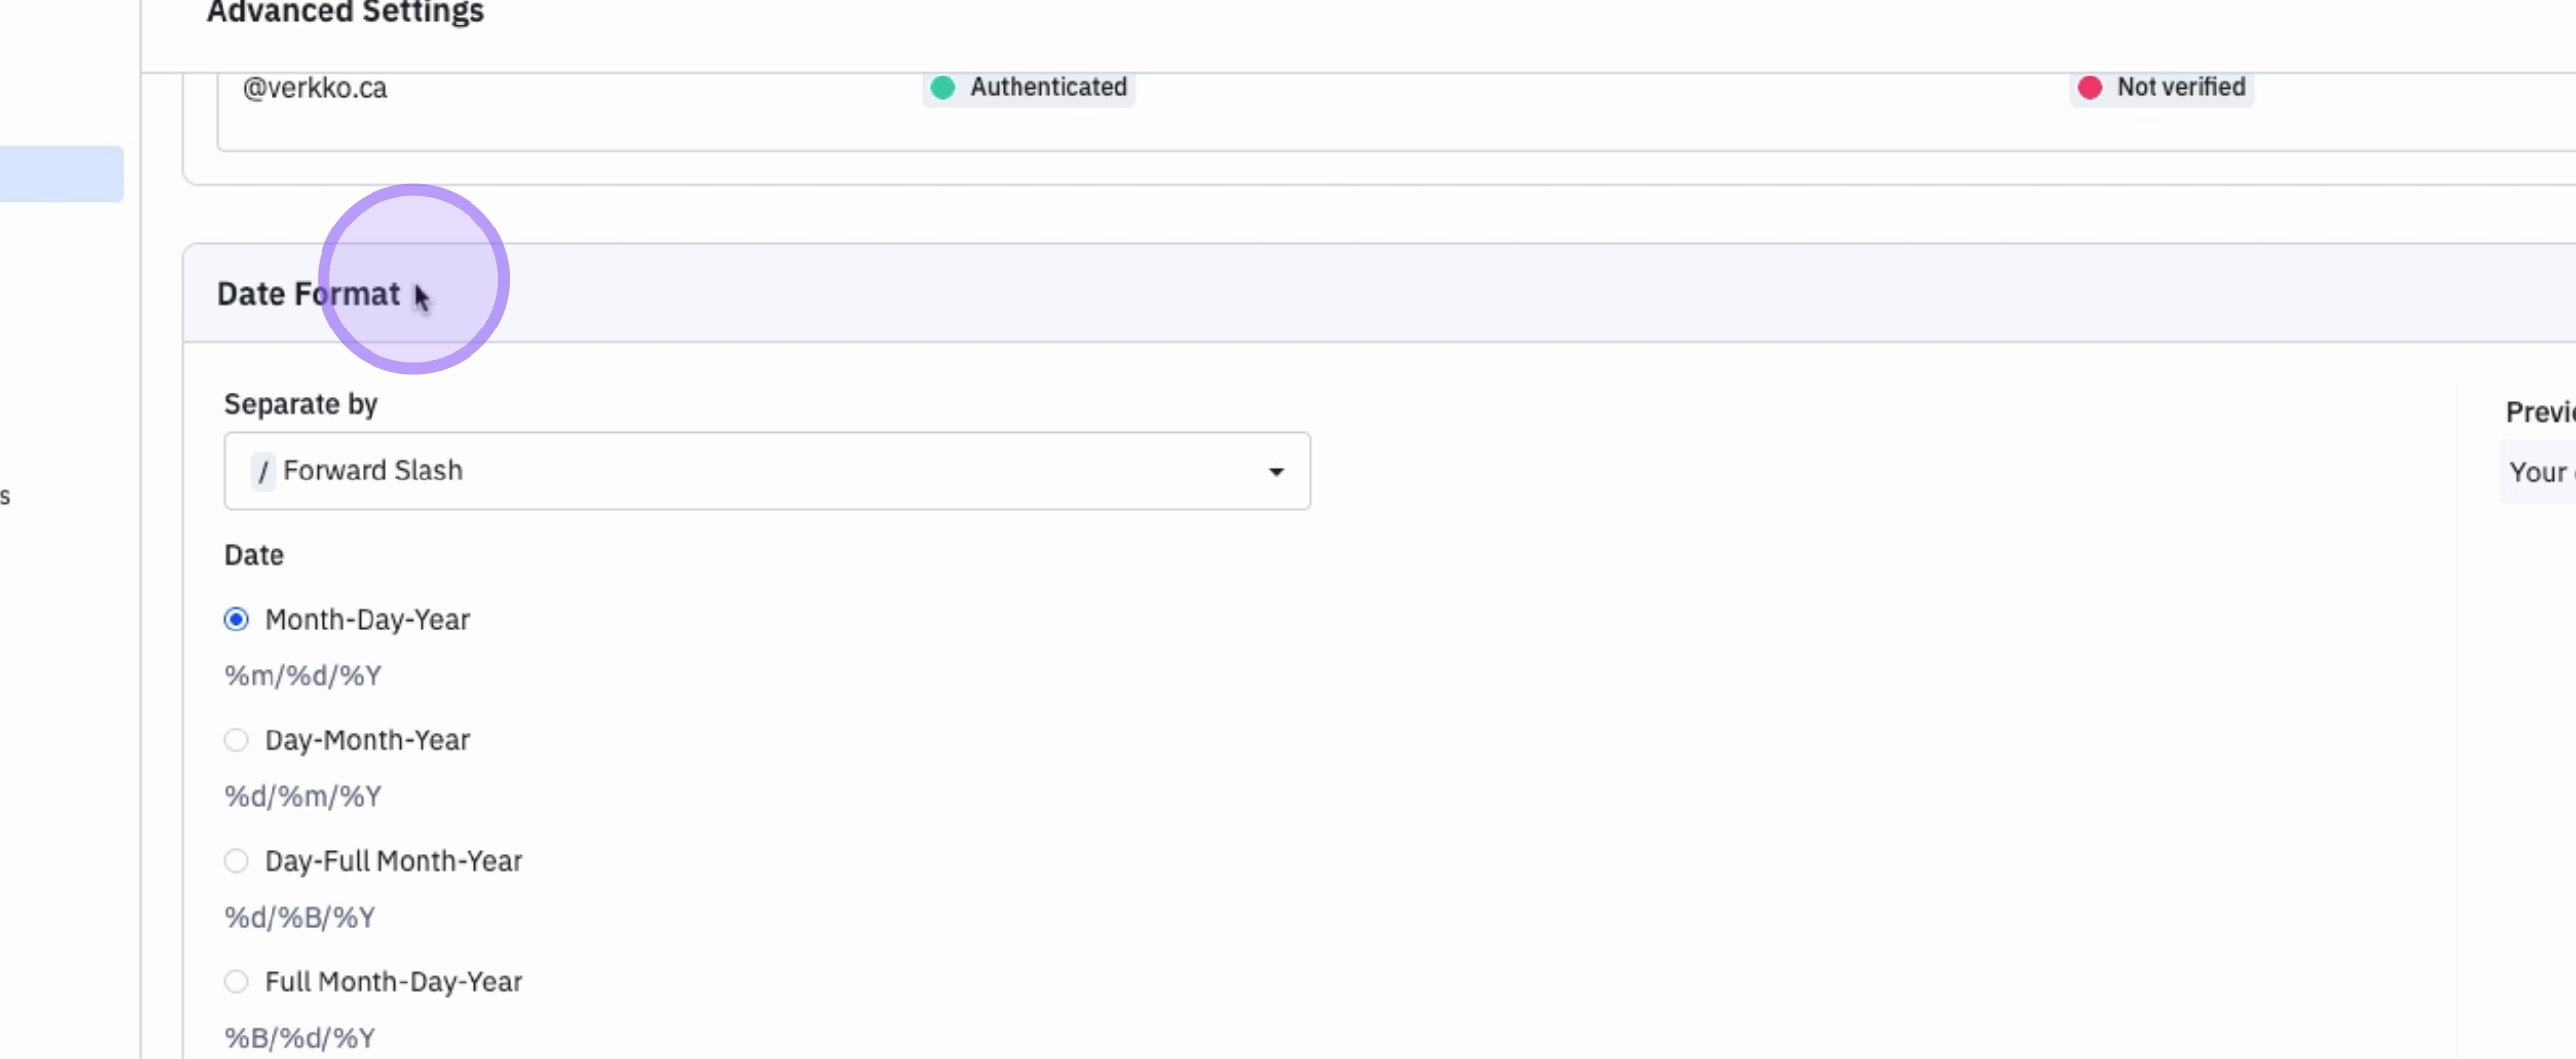
You will find various options, including the Date Format. As you choose different formats, a preview will be displayed on the right side to help you visualize the changes.
4. Selecting Custom Date Format
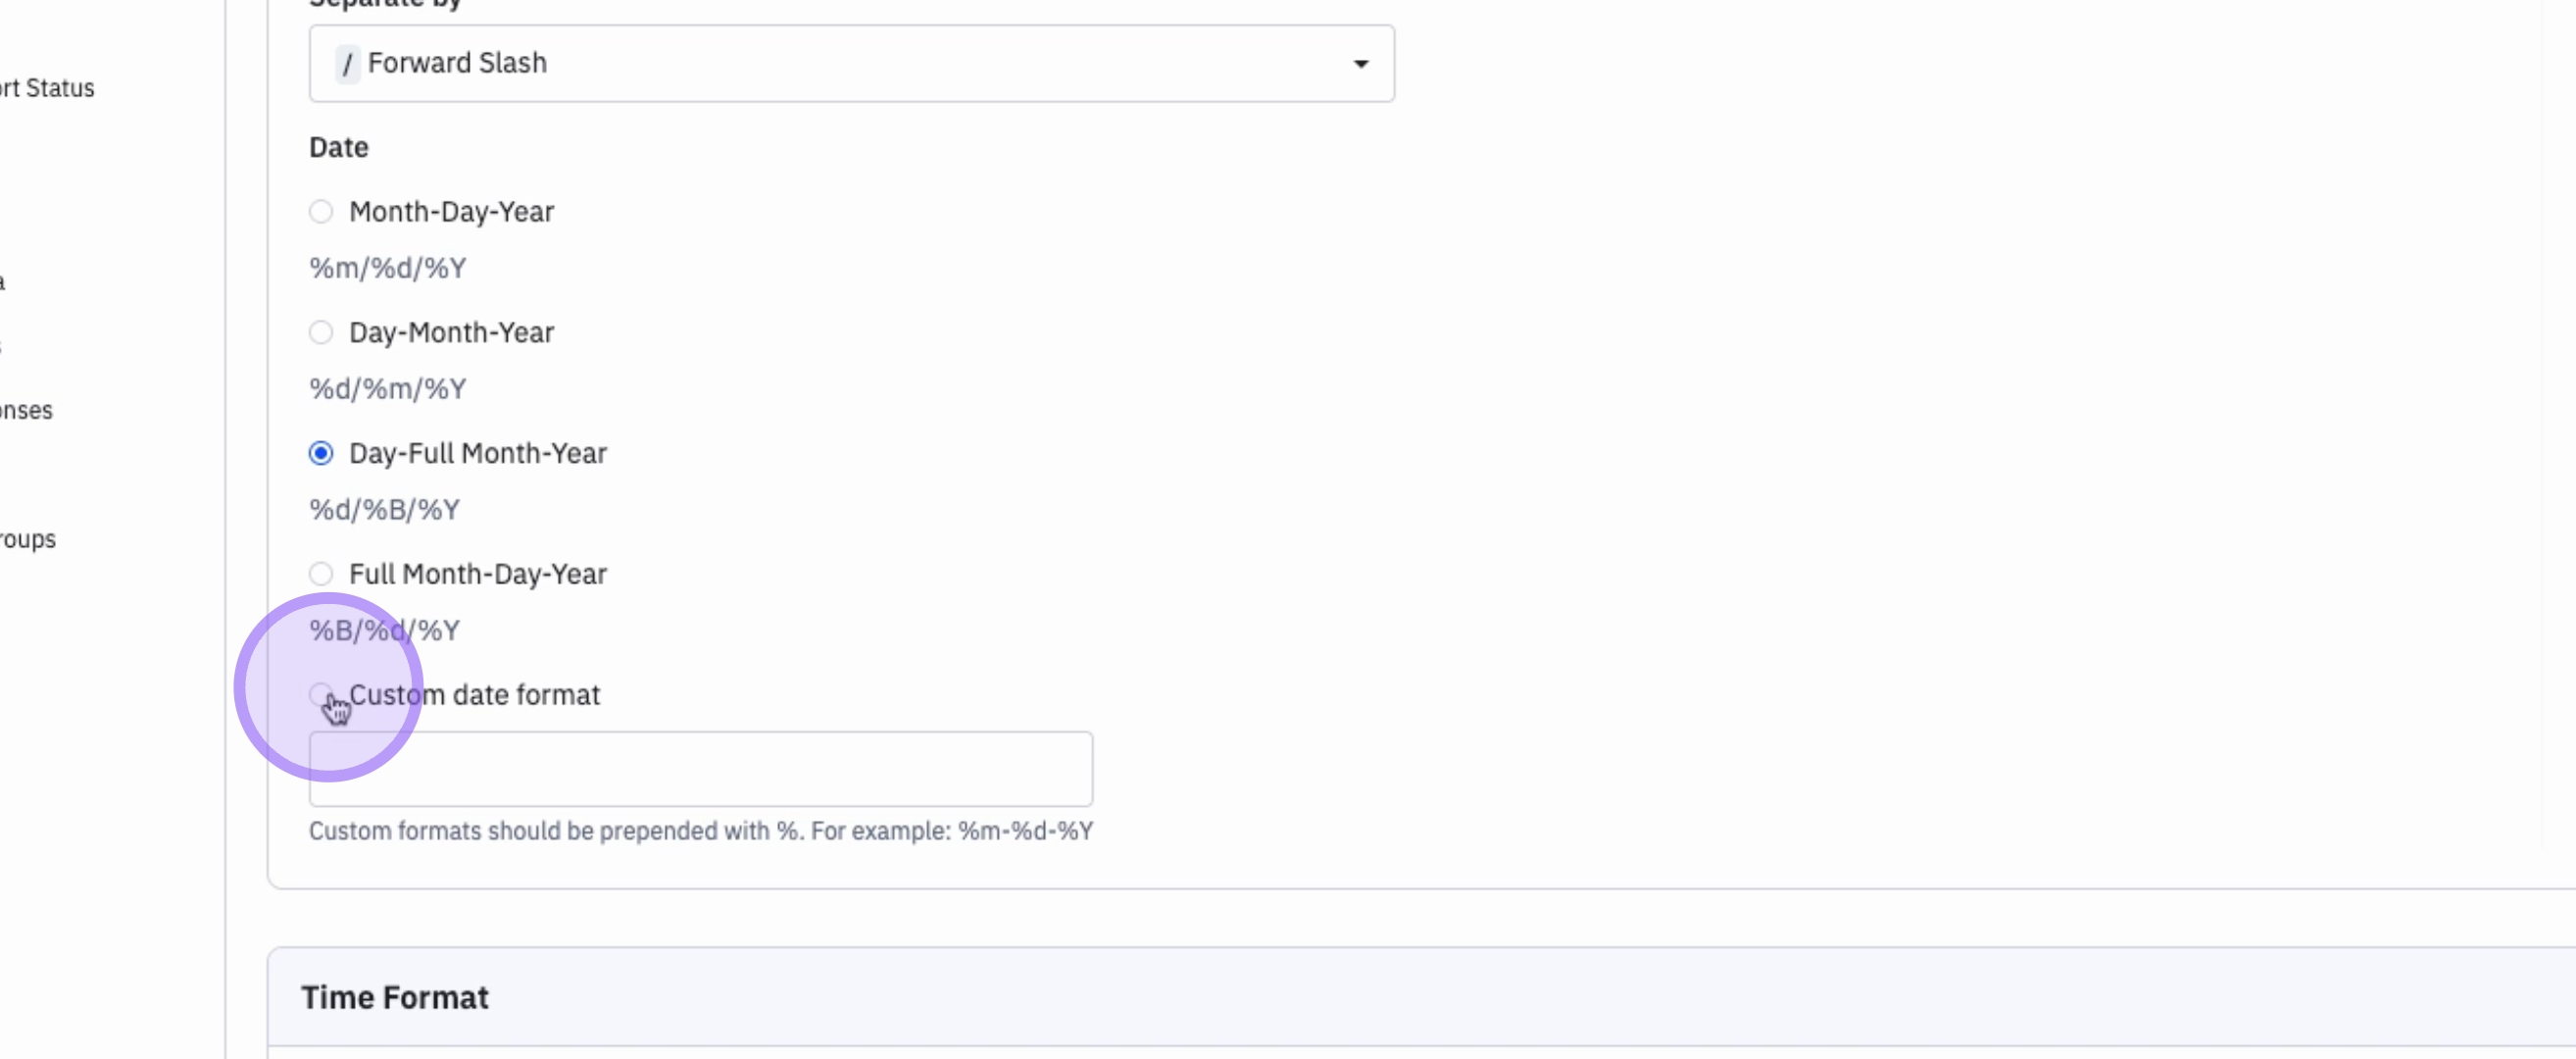
If preferred, you can also select a Custom Date Format.
5. Formatting Time Display
Additionally, you can format how the Time is displayed in your ActiveCampaign account, choosing between 24-hour, 12-hour, or a custom time format.

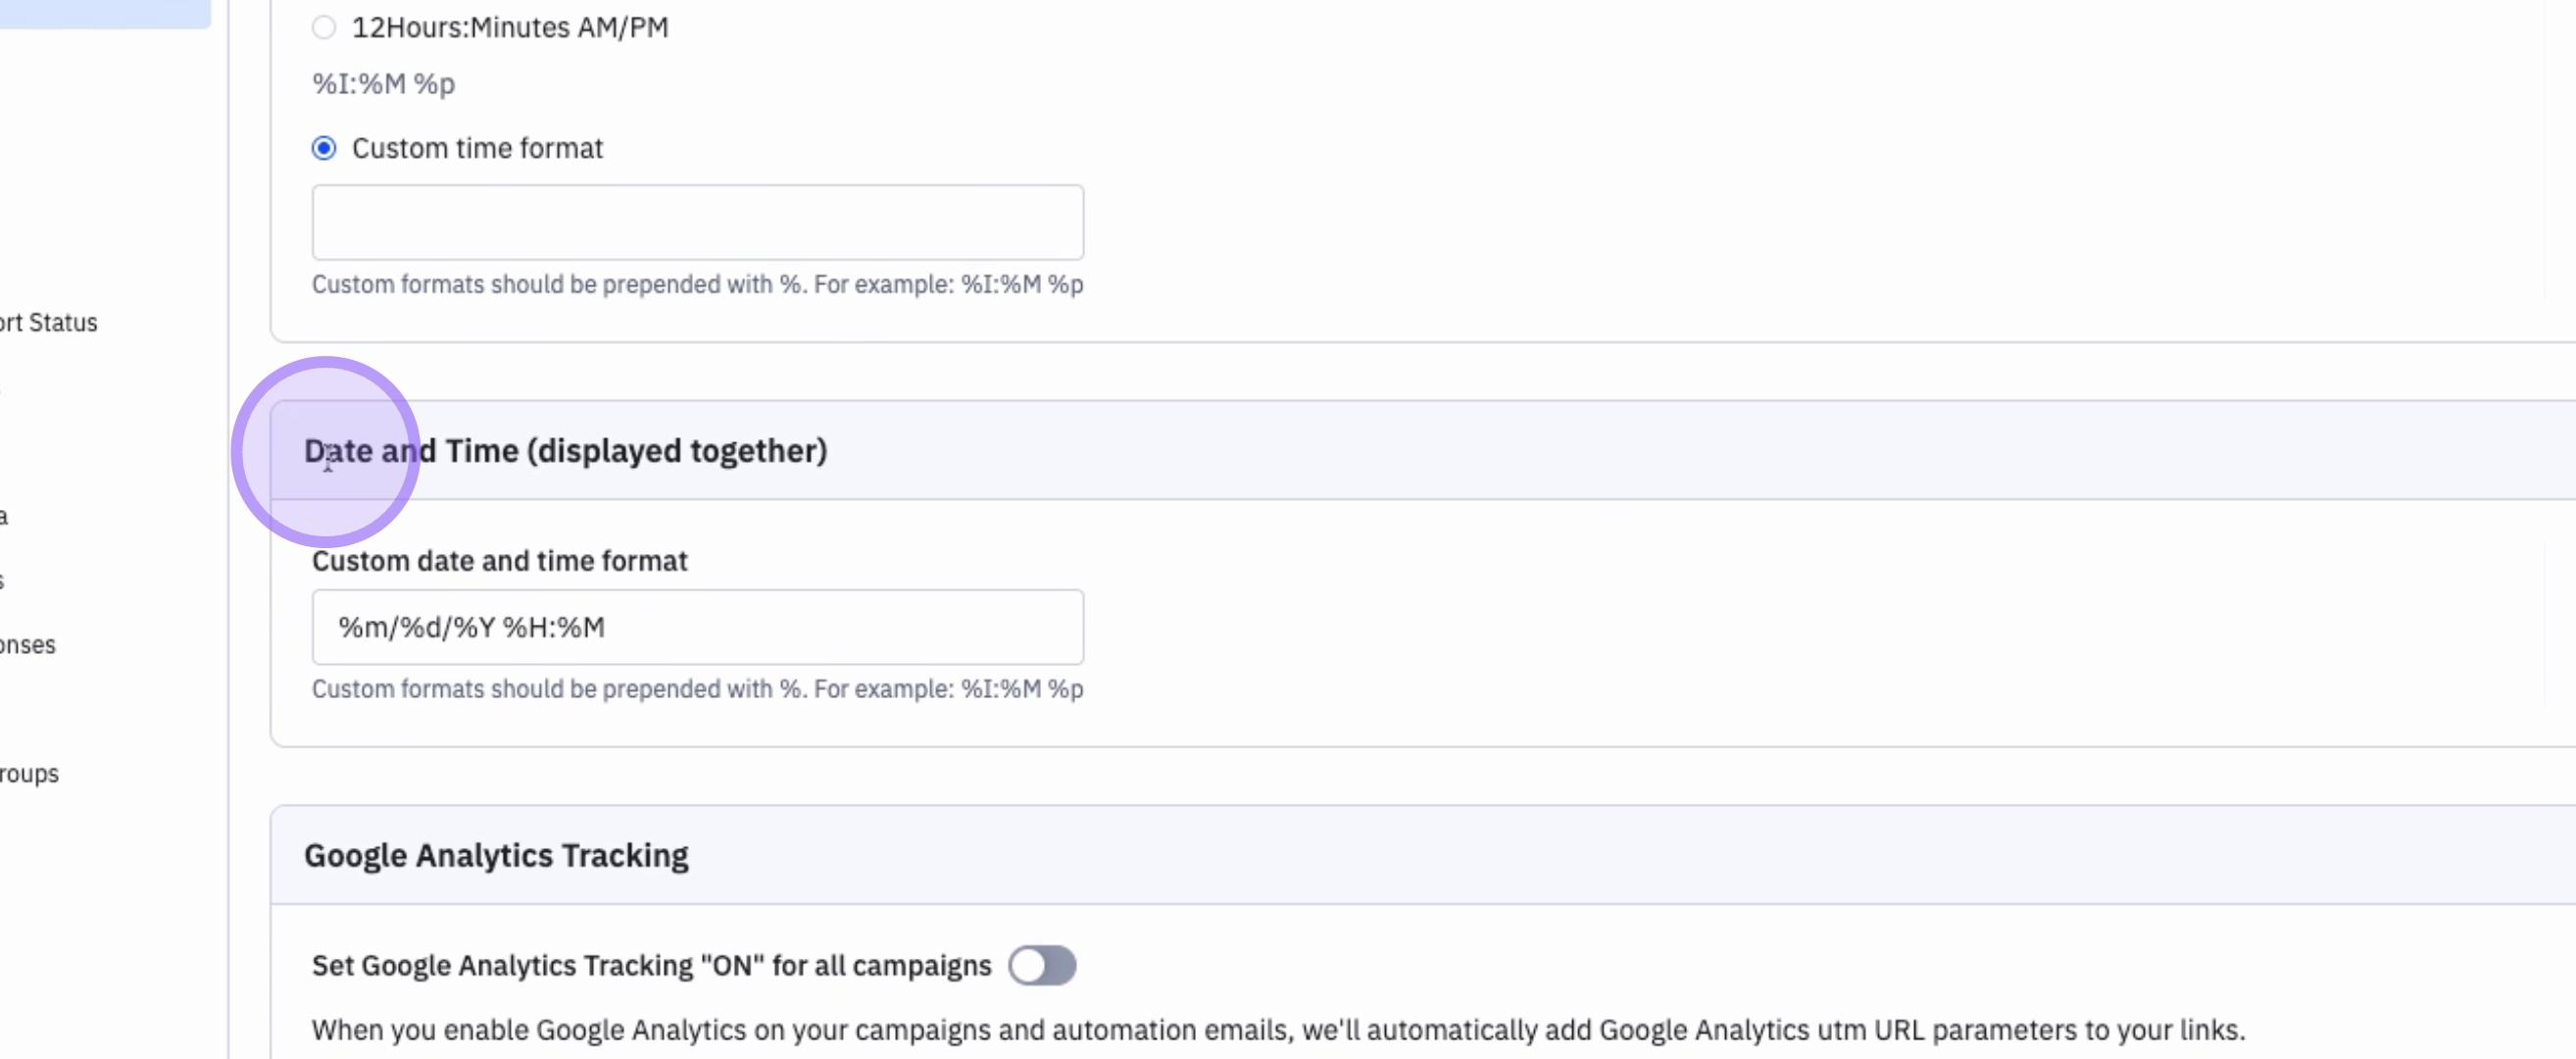
6. Configuring Date and Time Display
You also have the option to configure how Date and Time are displayed together.
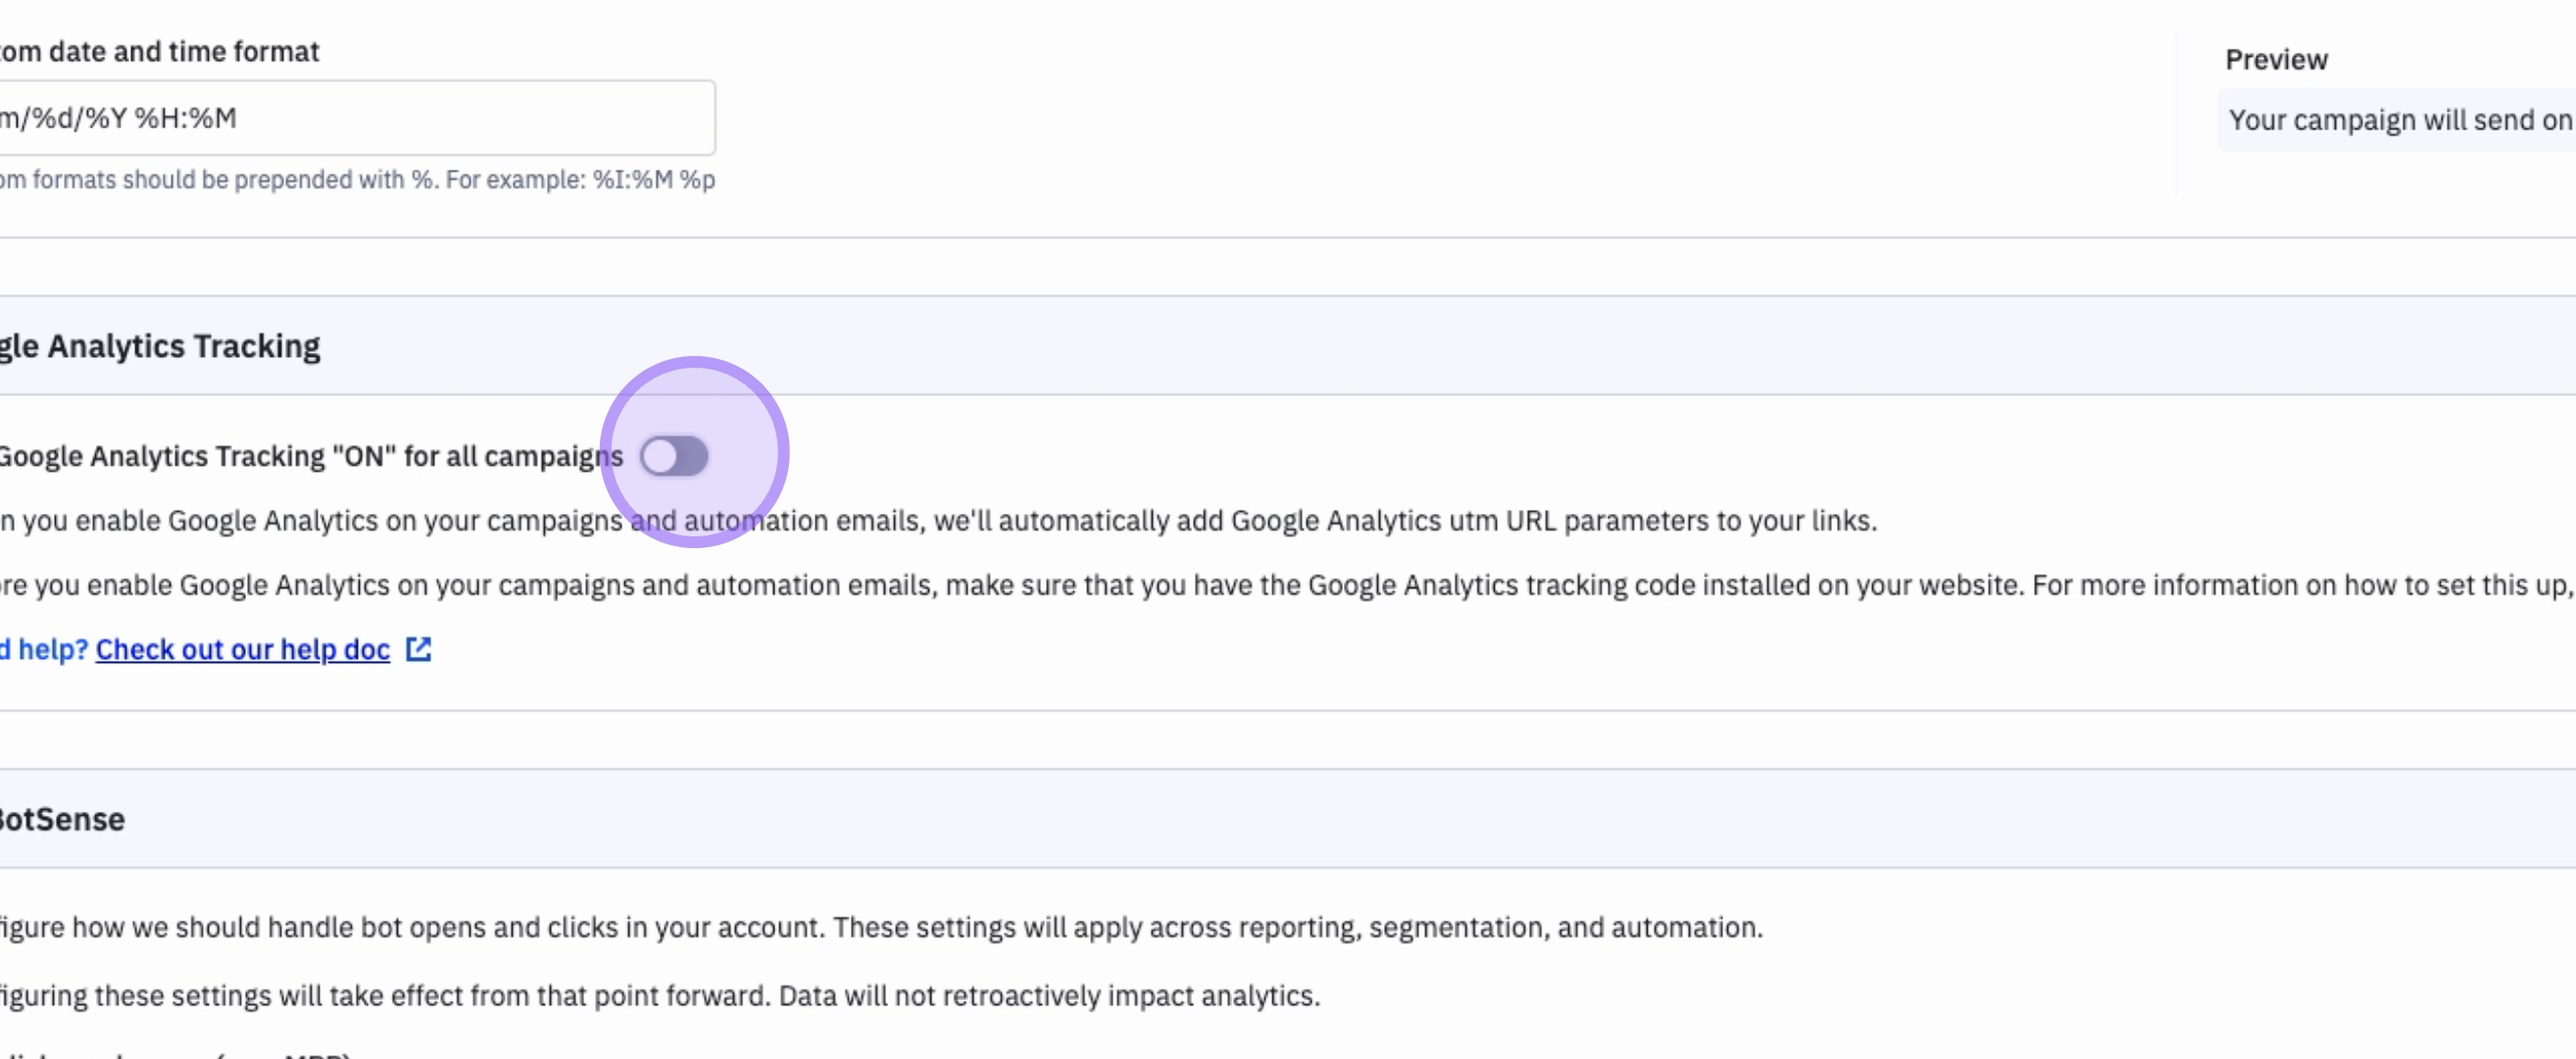
7. Enabling Google Analytics Tracking
After adjusting your display settings, toggle on the Google Analytics tracking to ensure all your emails are tracked effectively.
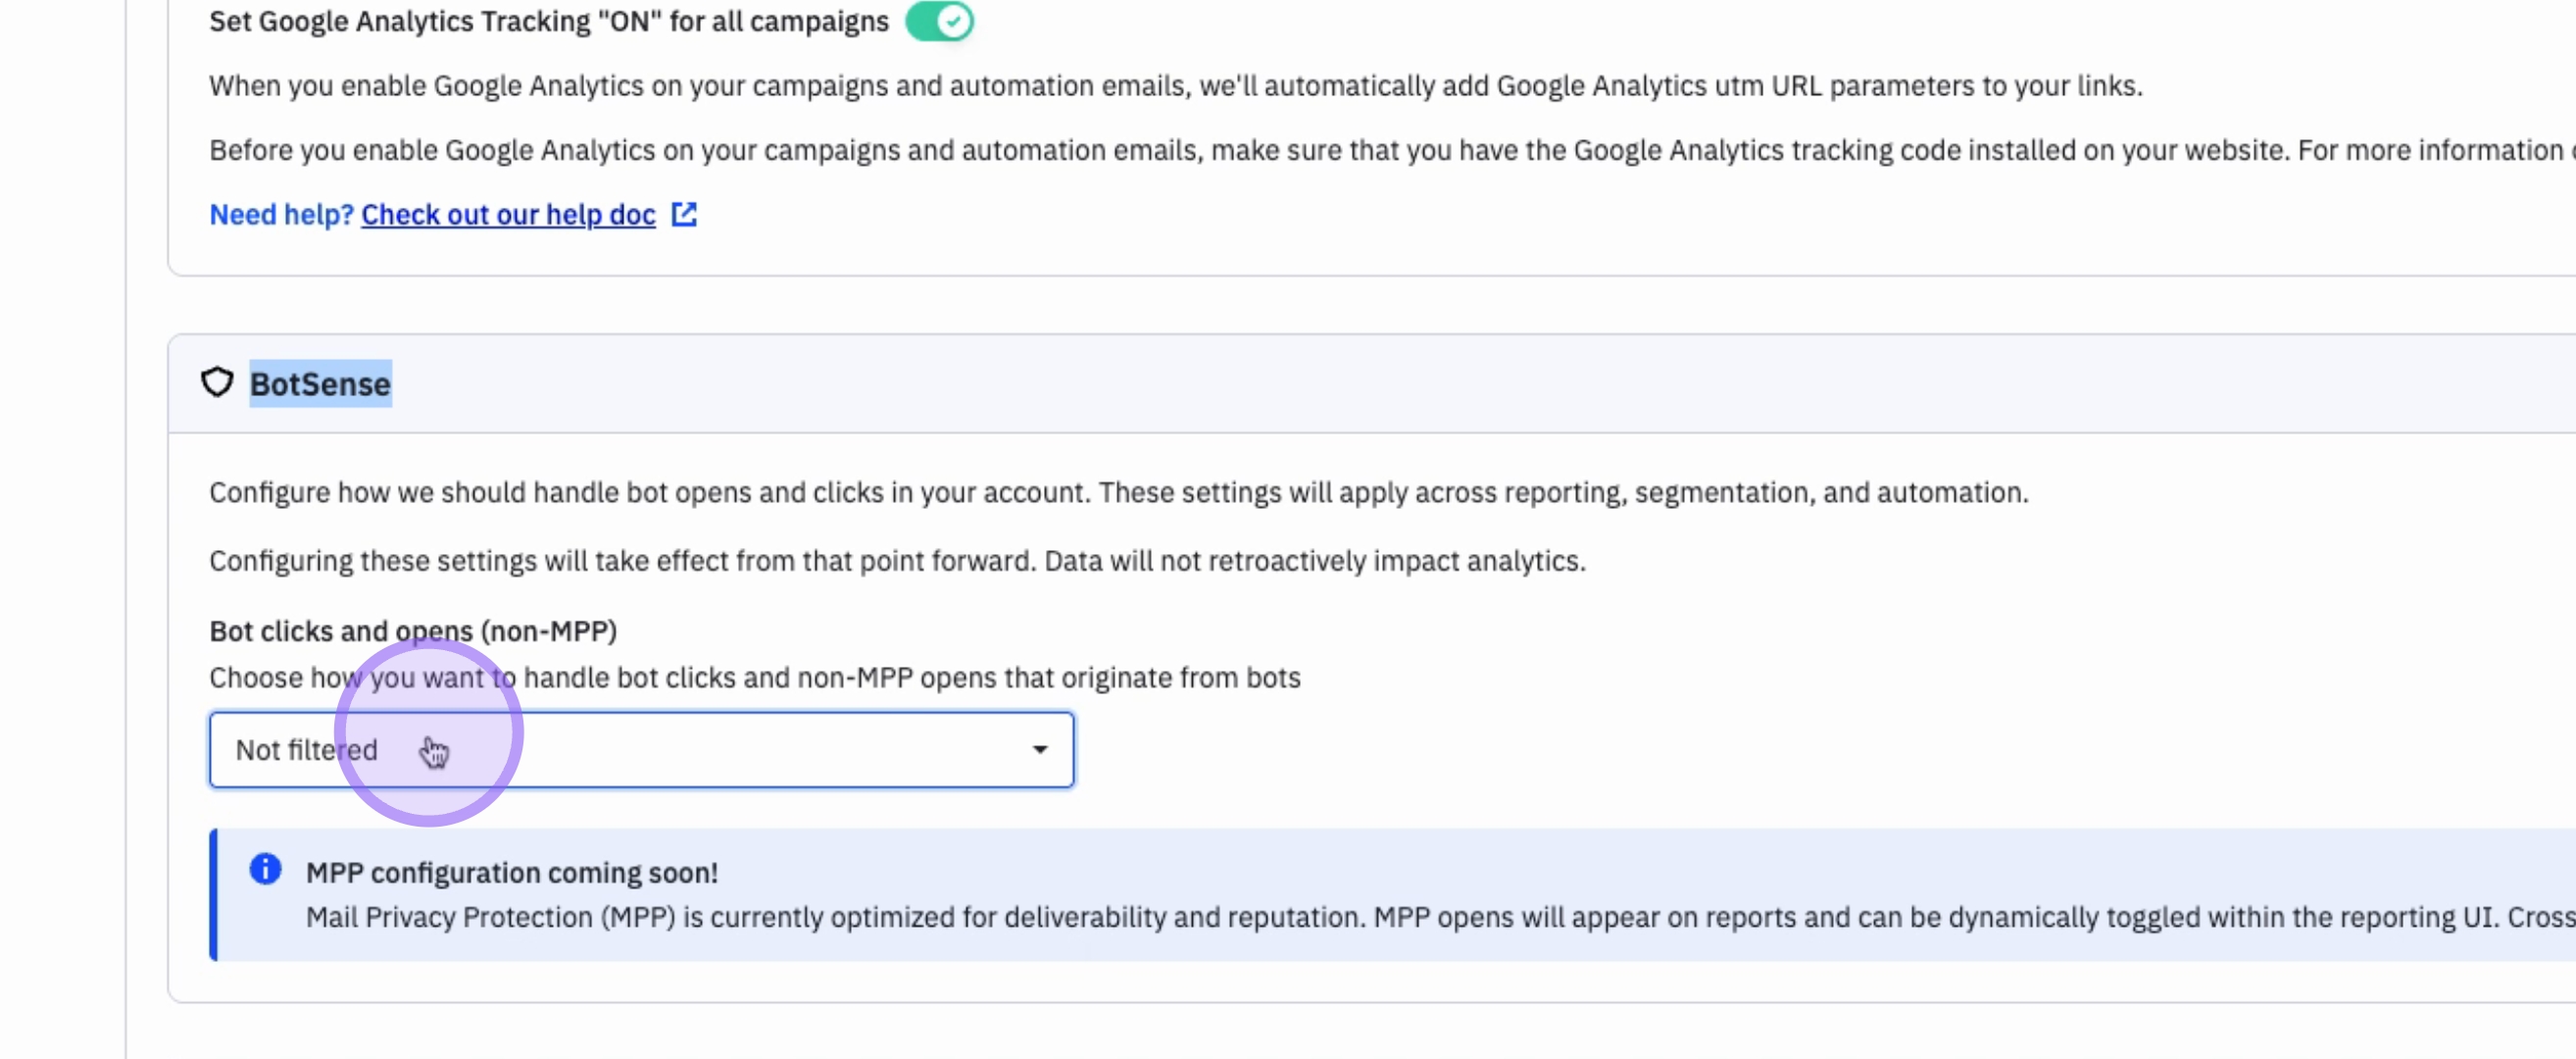
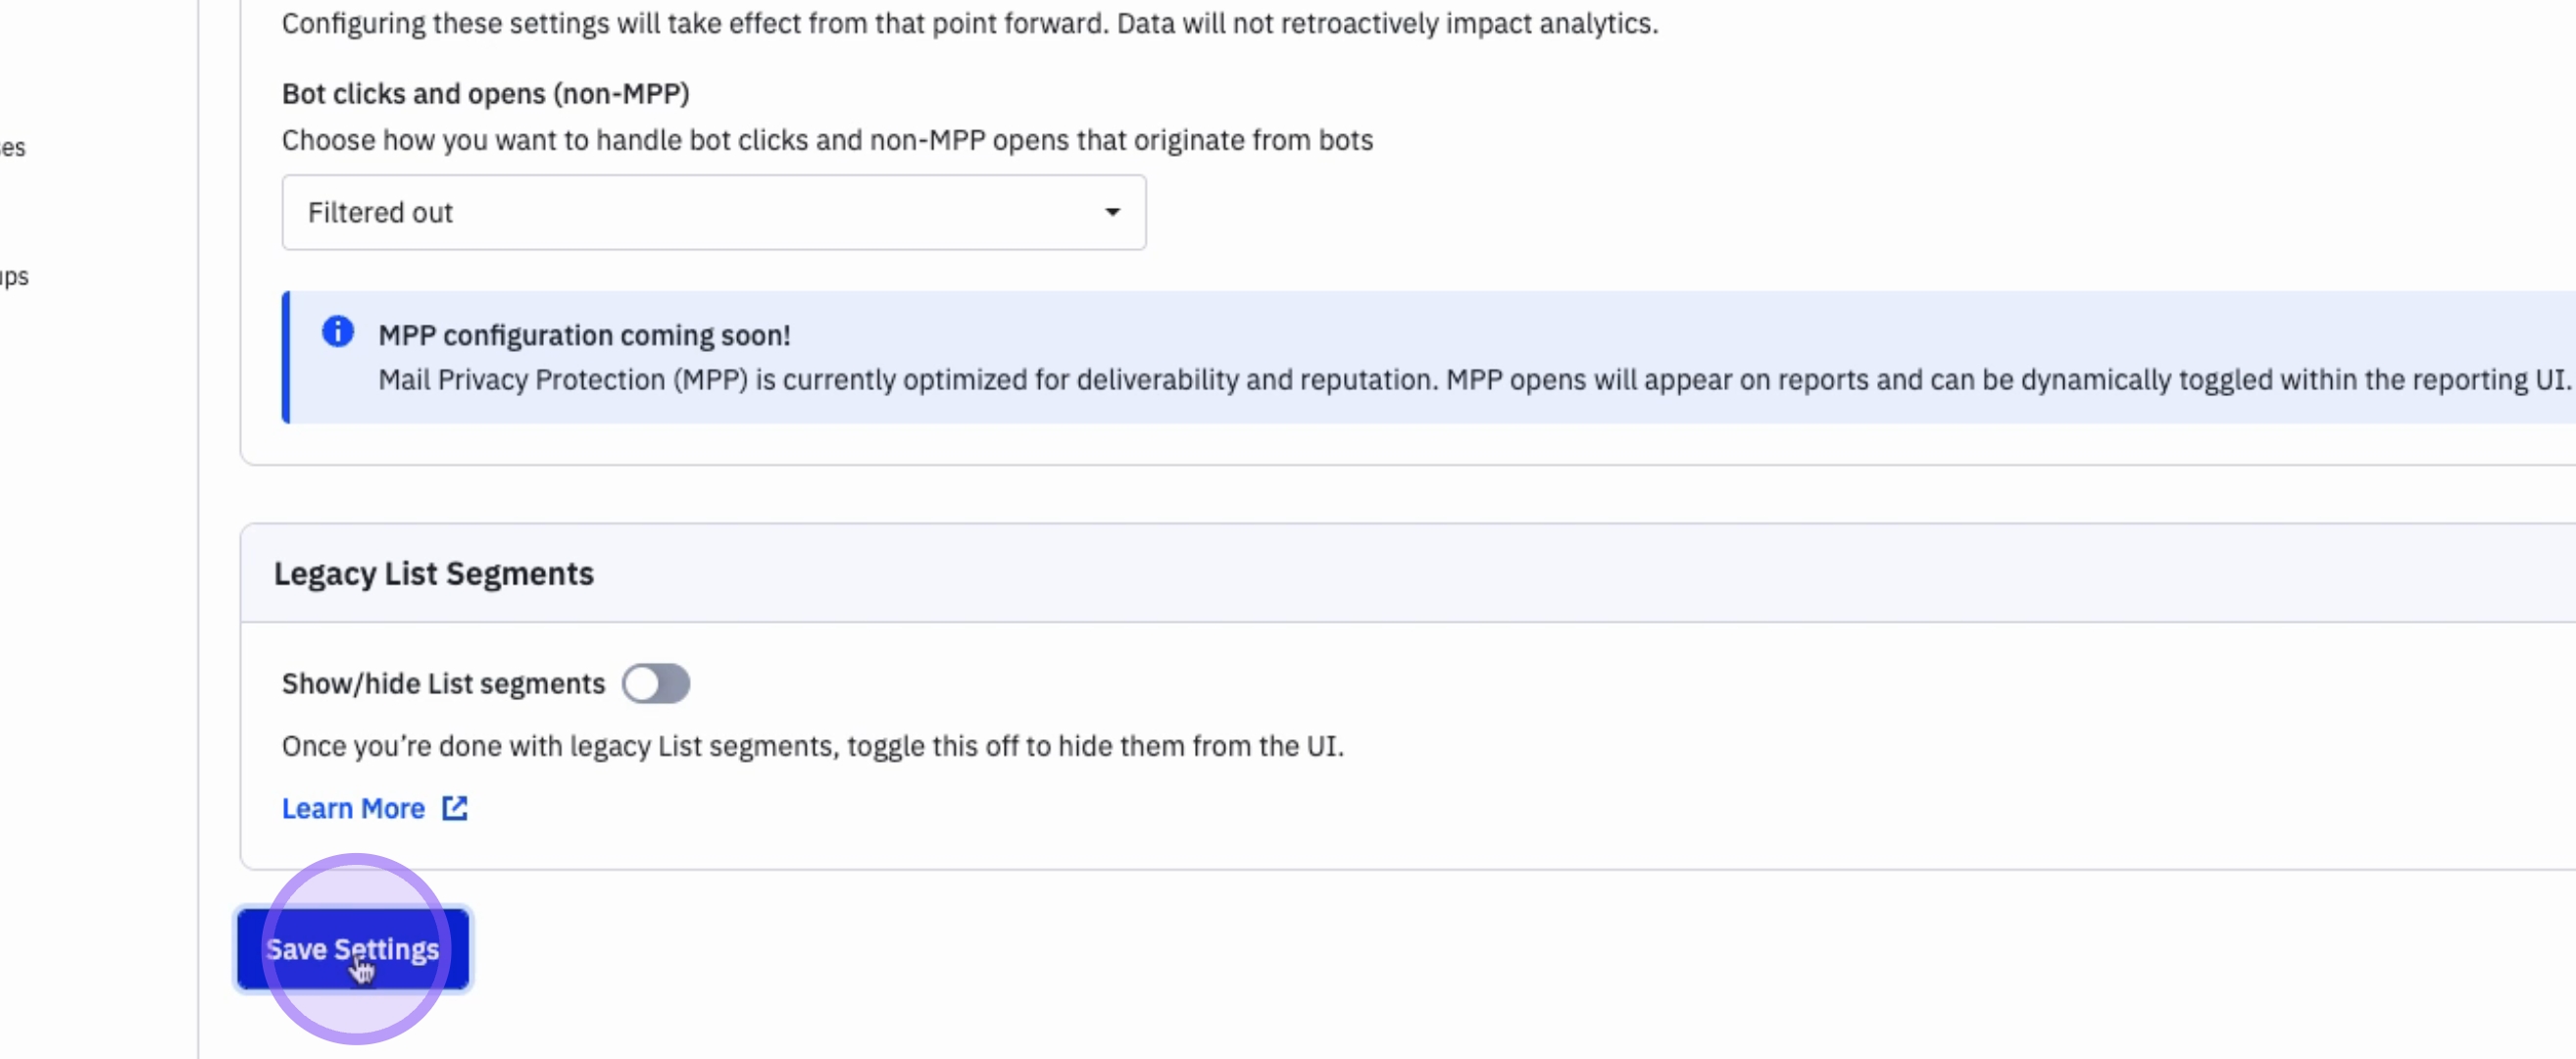
8. Configuring Bot Sense Settings
You can also manage your Bot Sense settings, which allows you to filter out clicks and opens made by robots.
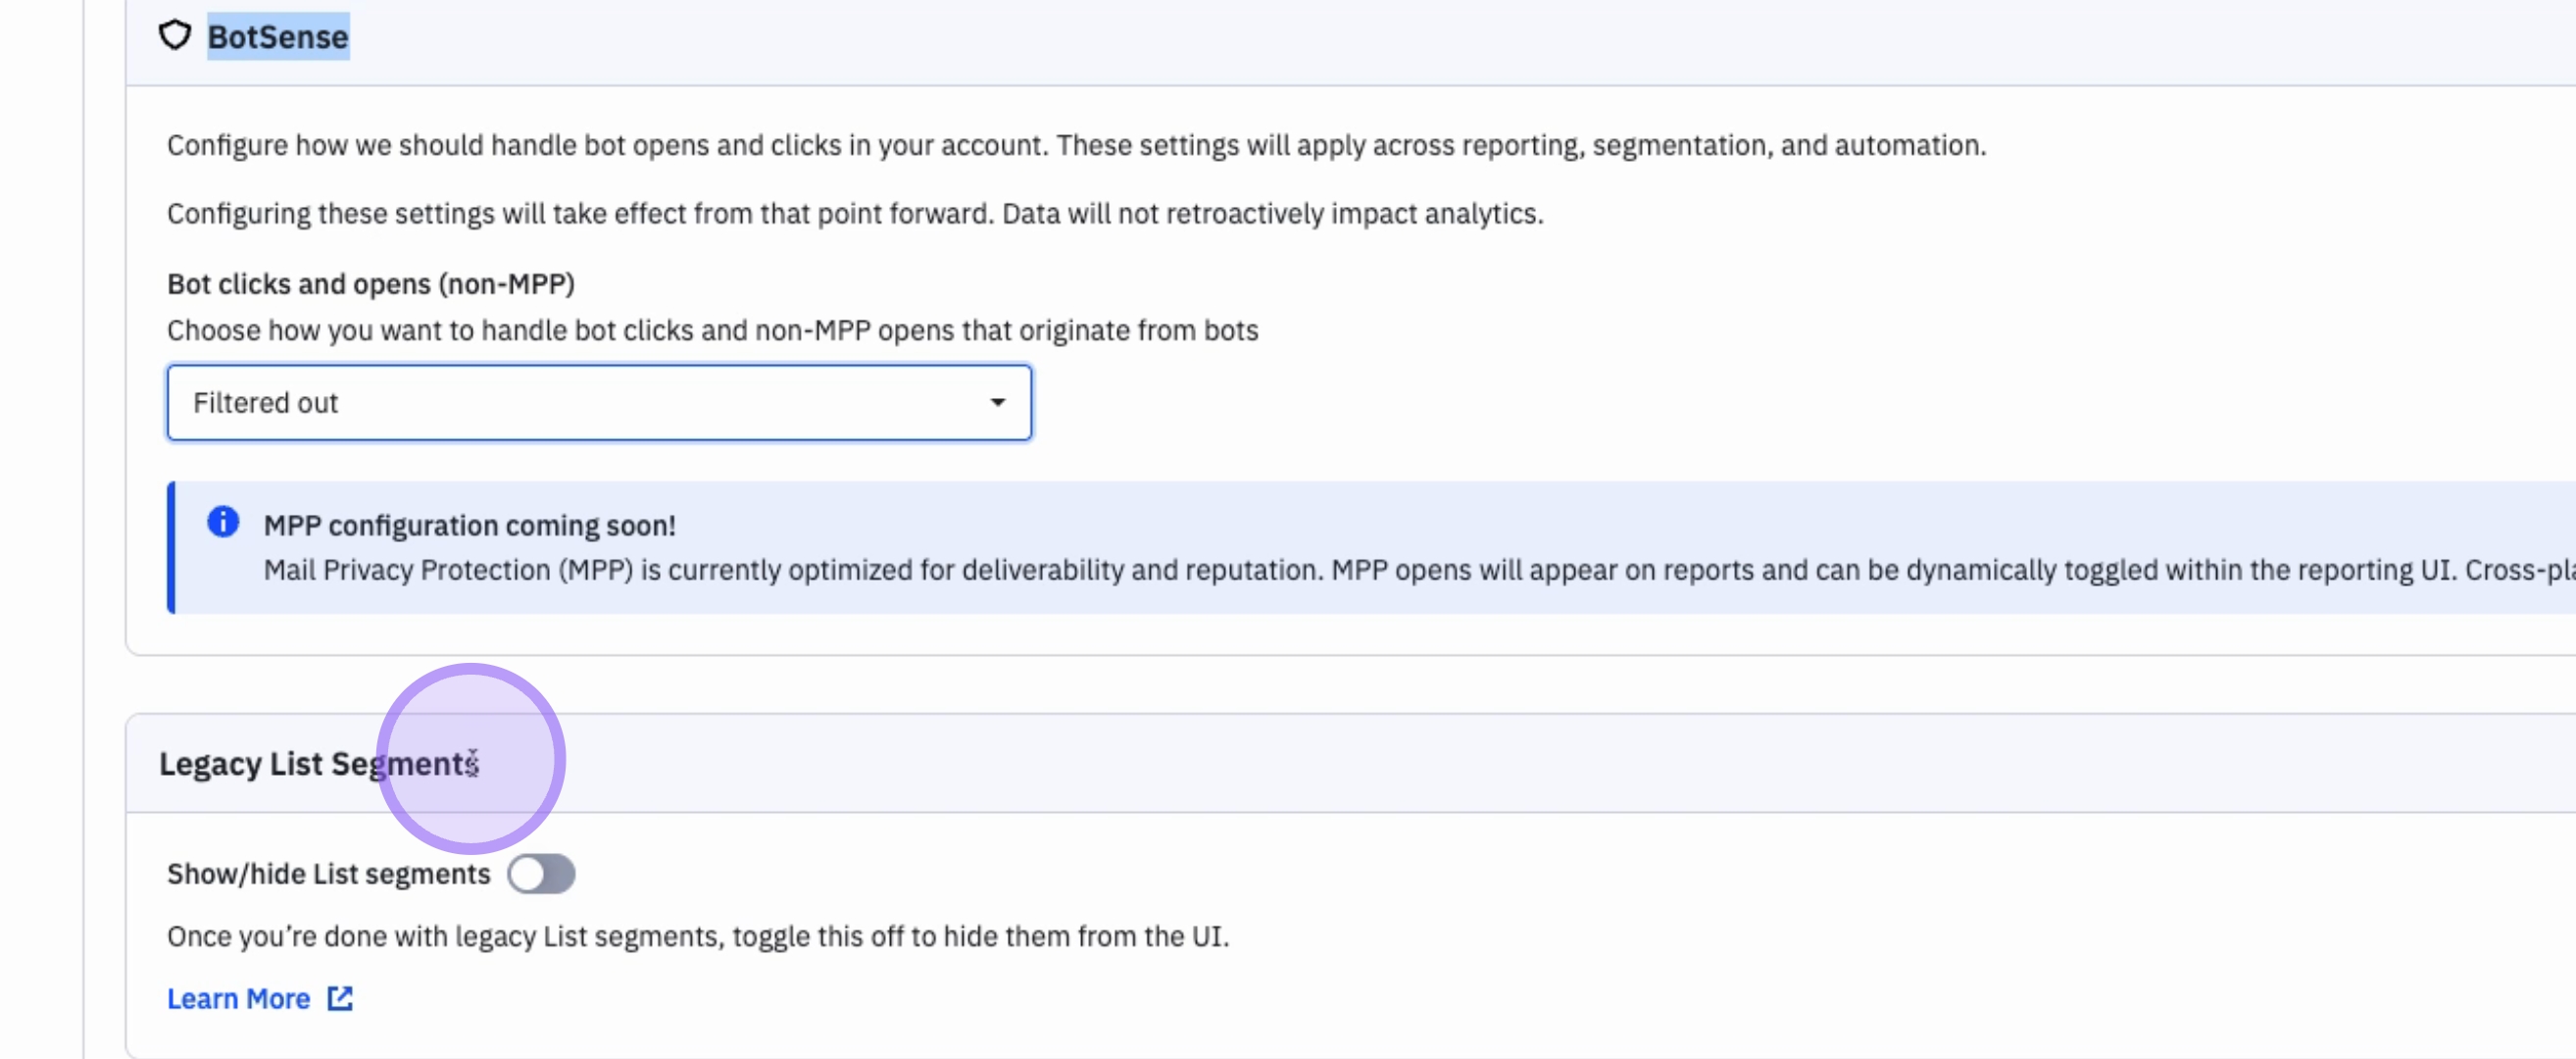
9. Enabling Bot Sense
To enable the Bot Sense feature, click on Filtered out. This will ensure all clicks from bots are filtered out of your reporting segmentation and automations.
10. Legacy List Segments
If you are setting up a new account, you do not need to worry about legacy list segments, as these were created prior to creating your account. Simply leave as is.
11. Saving Your Settings
Once your advanced settings are completed, simply click on Save Settings to finalize your configurations.
Conclusion
By following these steps, you will have successfully configured the advanced settings in your ActiveCampaign account, ensuring that your data is formatted and displayed according to your preferences.