Learn the essential steps to authenticate your domain in ActiveCampaign, ensuring that your emails are verified and properly sent from your business.
Add video
Introduction
Authenticating your domain is a crucial step in using ActiveCampaign effectively. This tutorial will guide you through the necessary steps to authenticate your domain, allowing you to send emails that are verified to come from your business. By following this step-by-step process, you'll ensure your domain is set up correctly and ready for communication.
How to Instructions
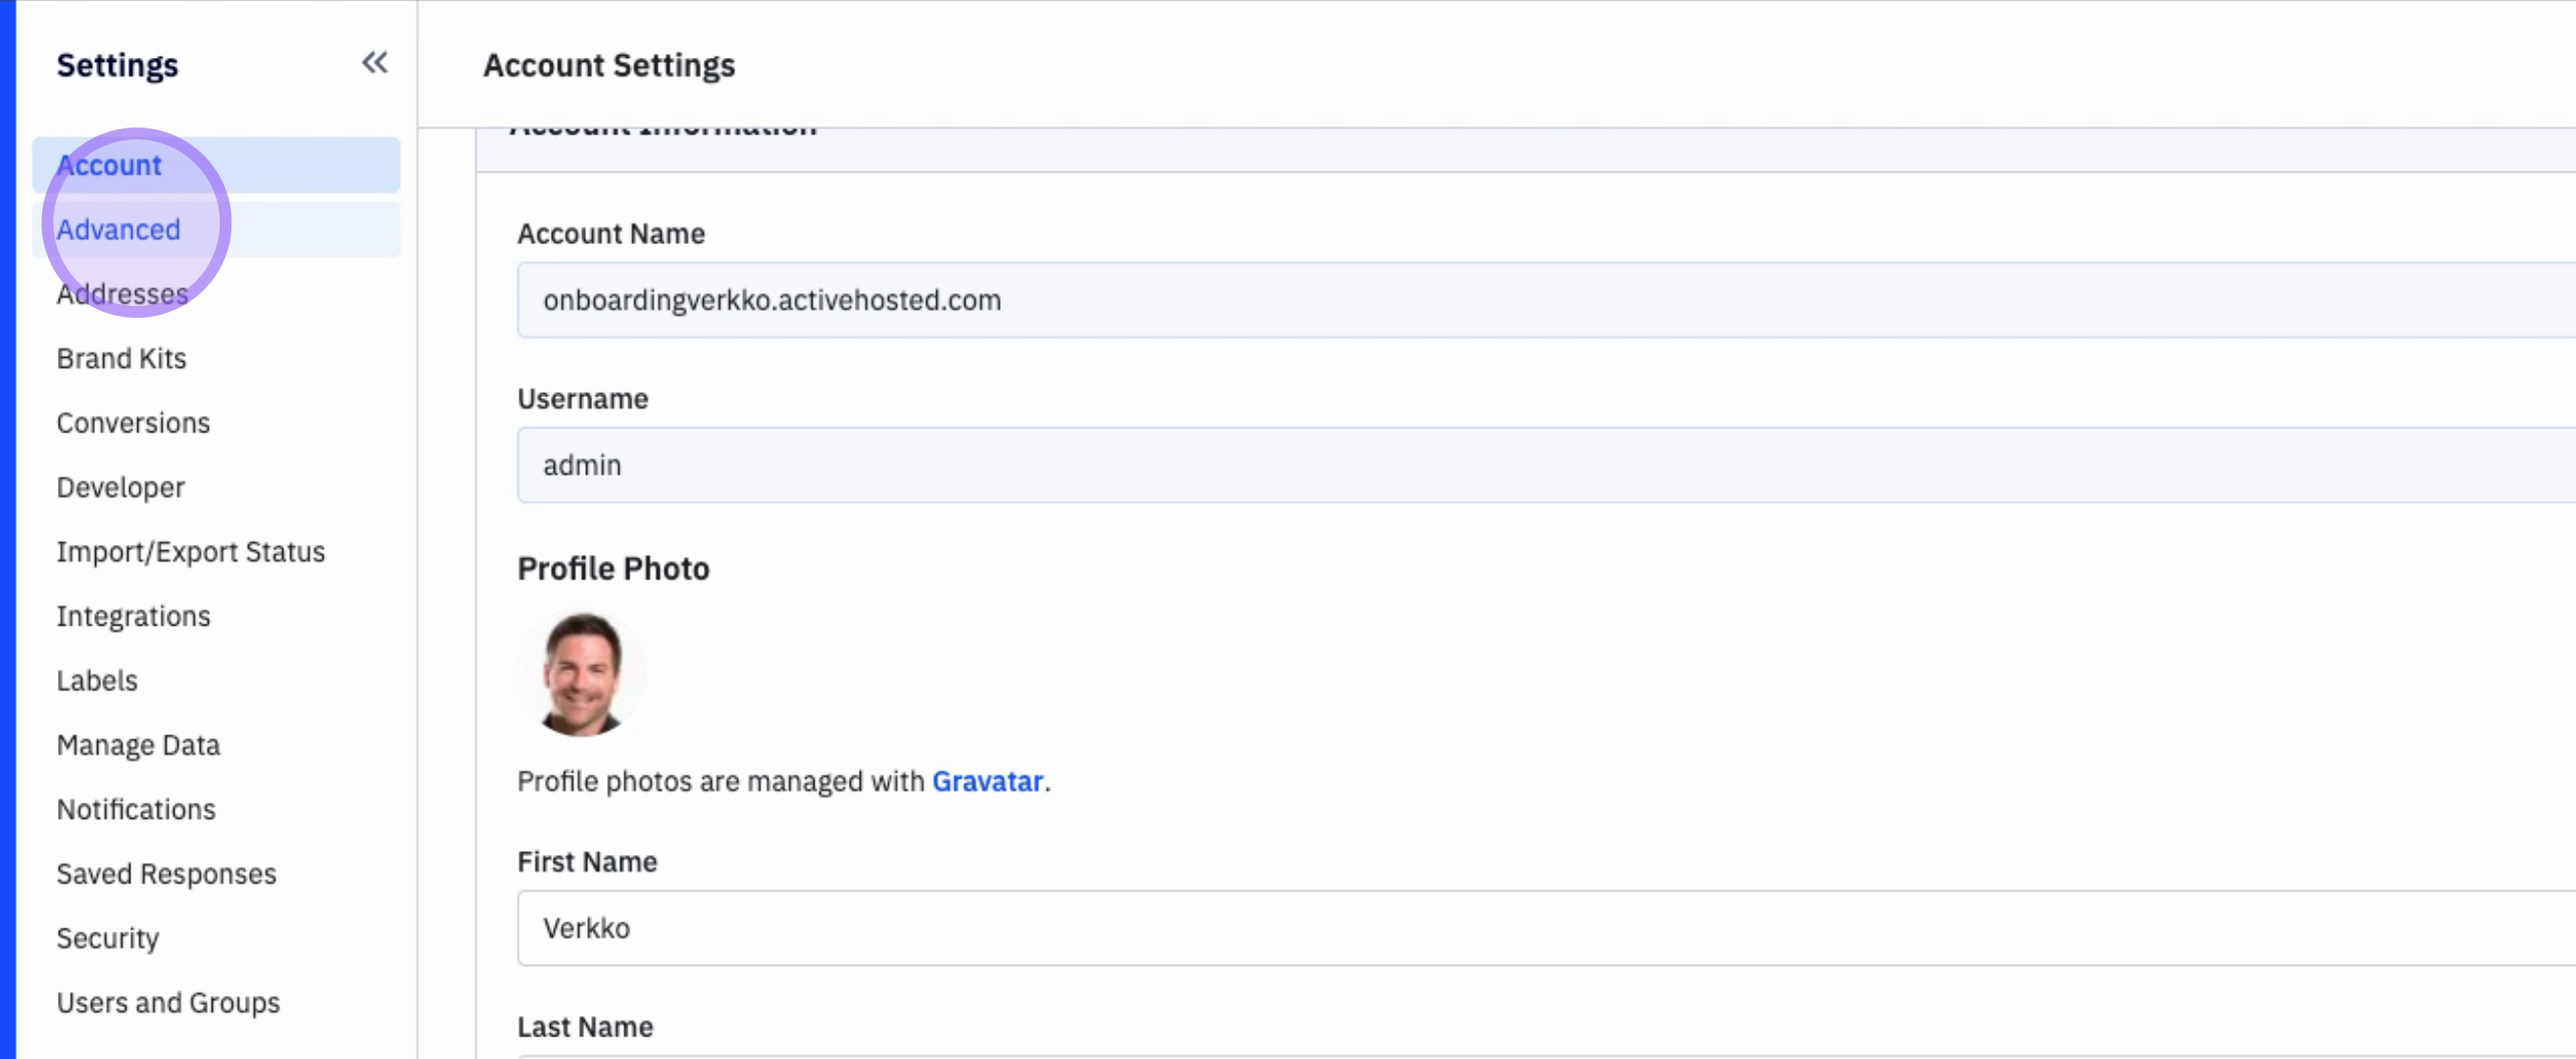
1. Access Settings
To begin, click on Settings.

2. Navigate to Advanced Settings
Next, click on Advanced.
3. Enter Your Domain Name
The first step to authenticate your domain is to enter your domain name.
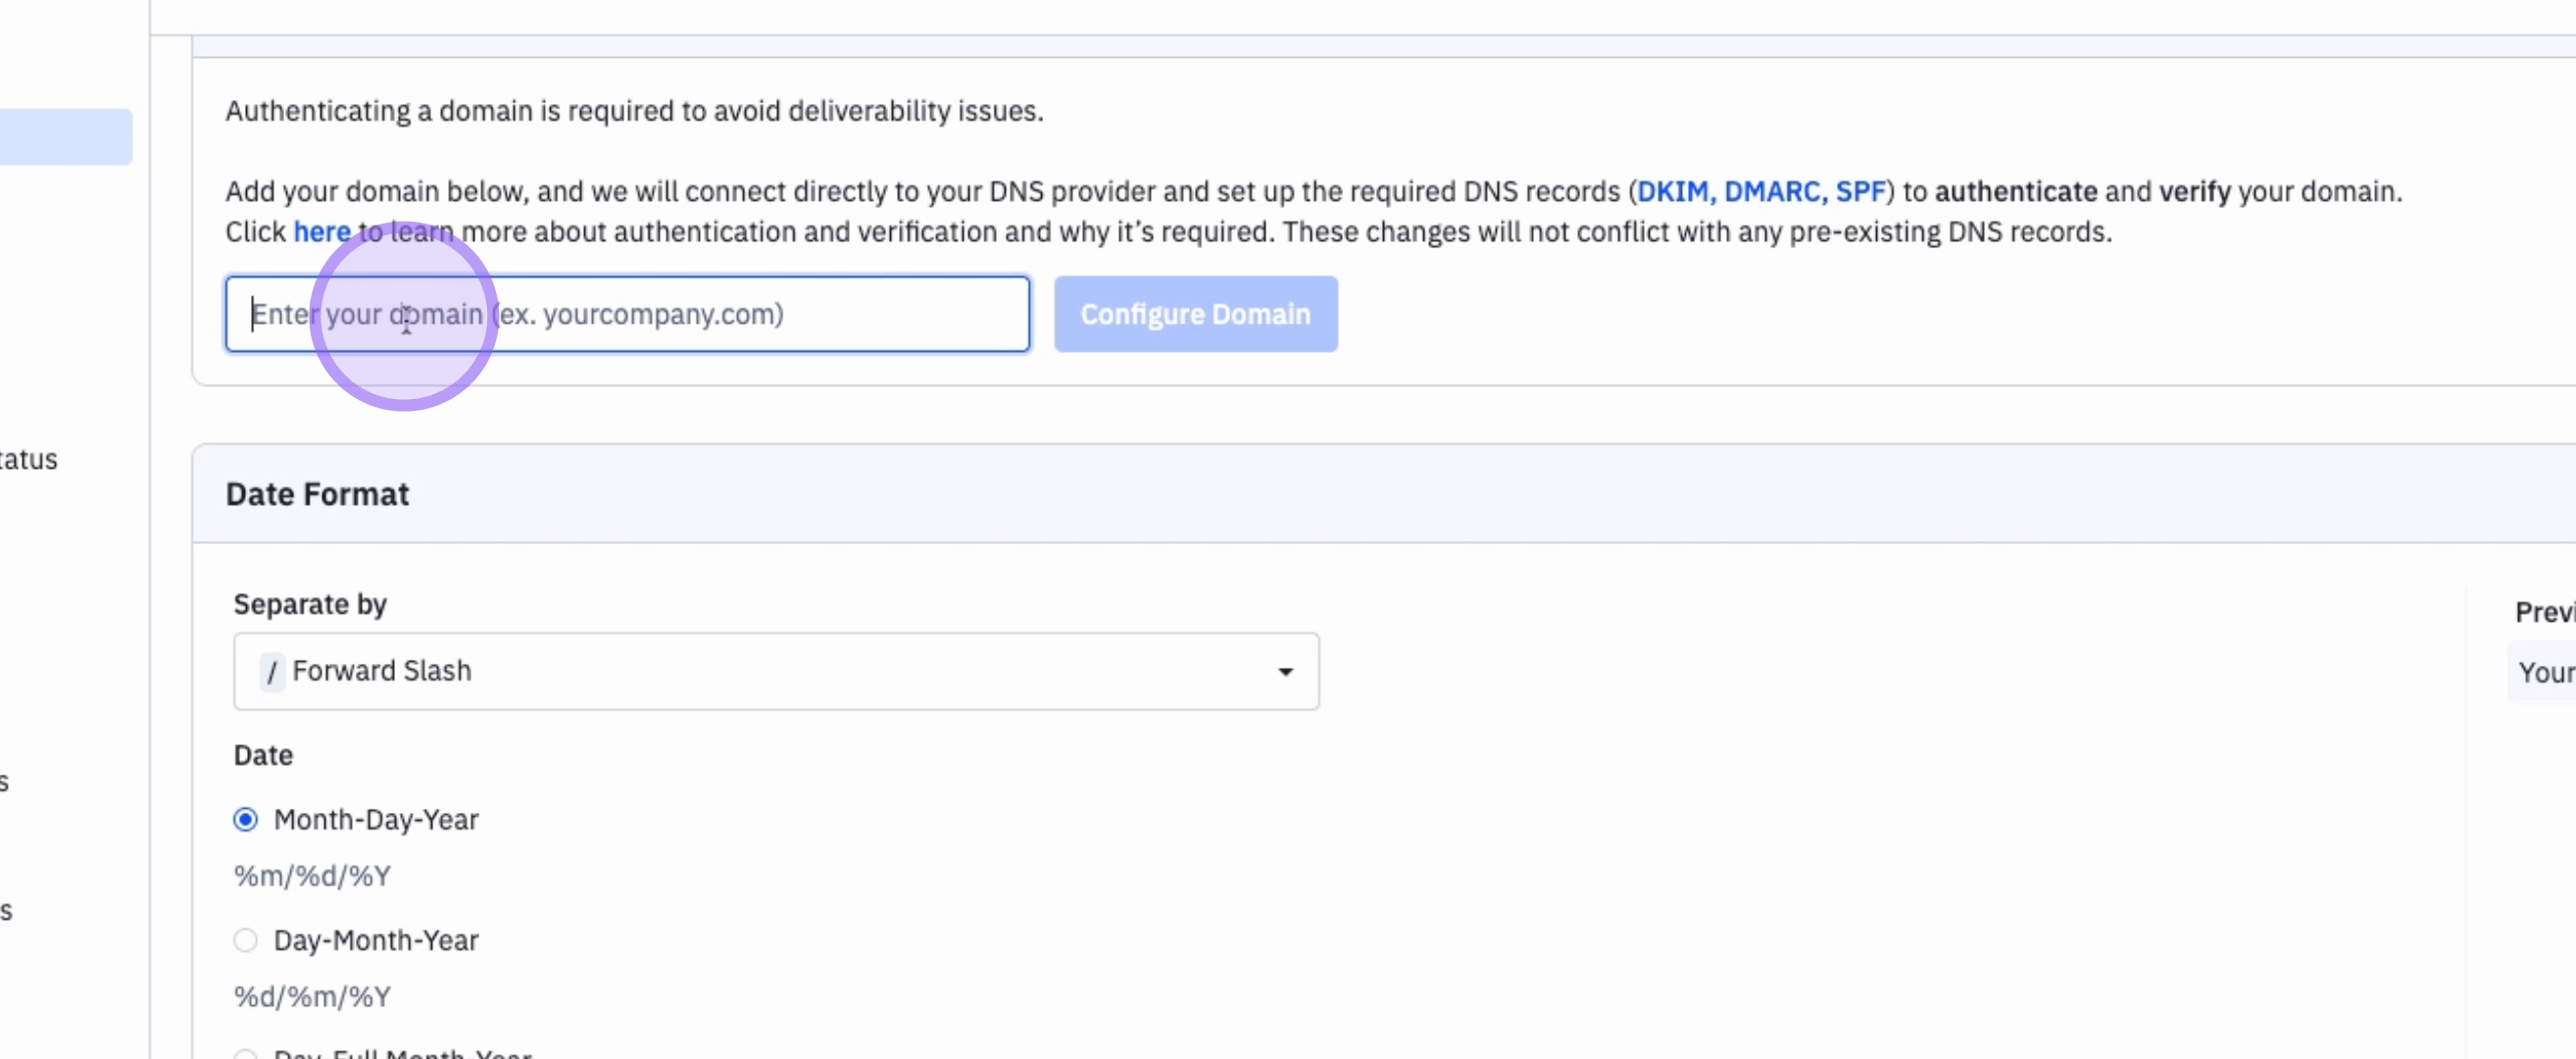
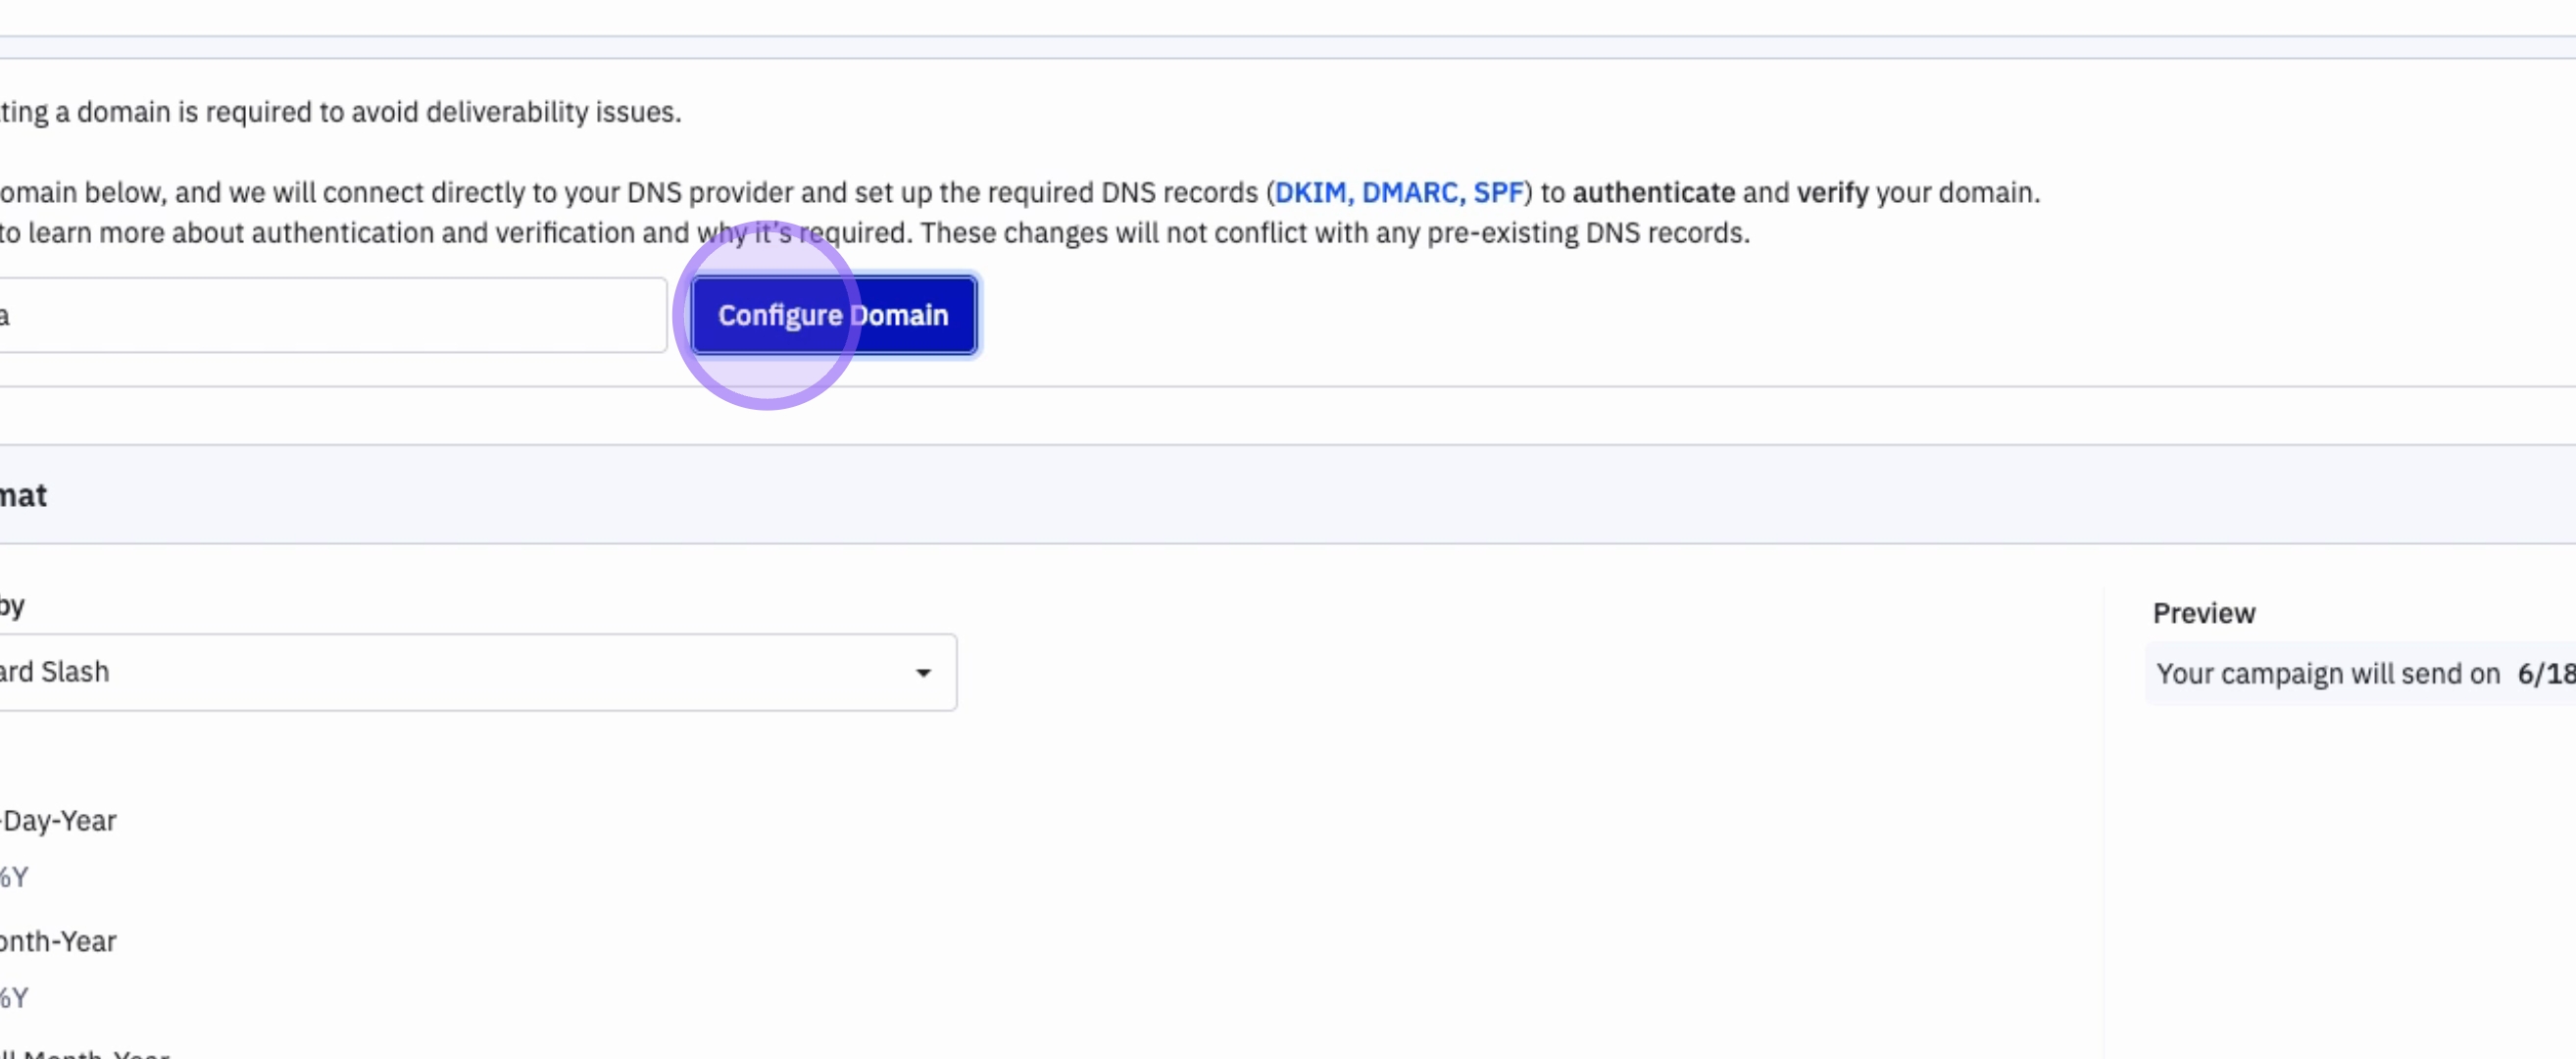
4. Configure Your Domain
Once you have entered your domain name, click on Configure Domain.
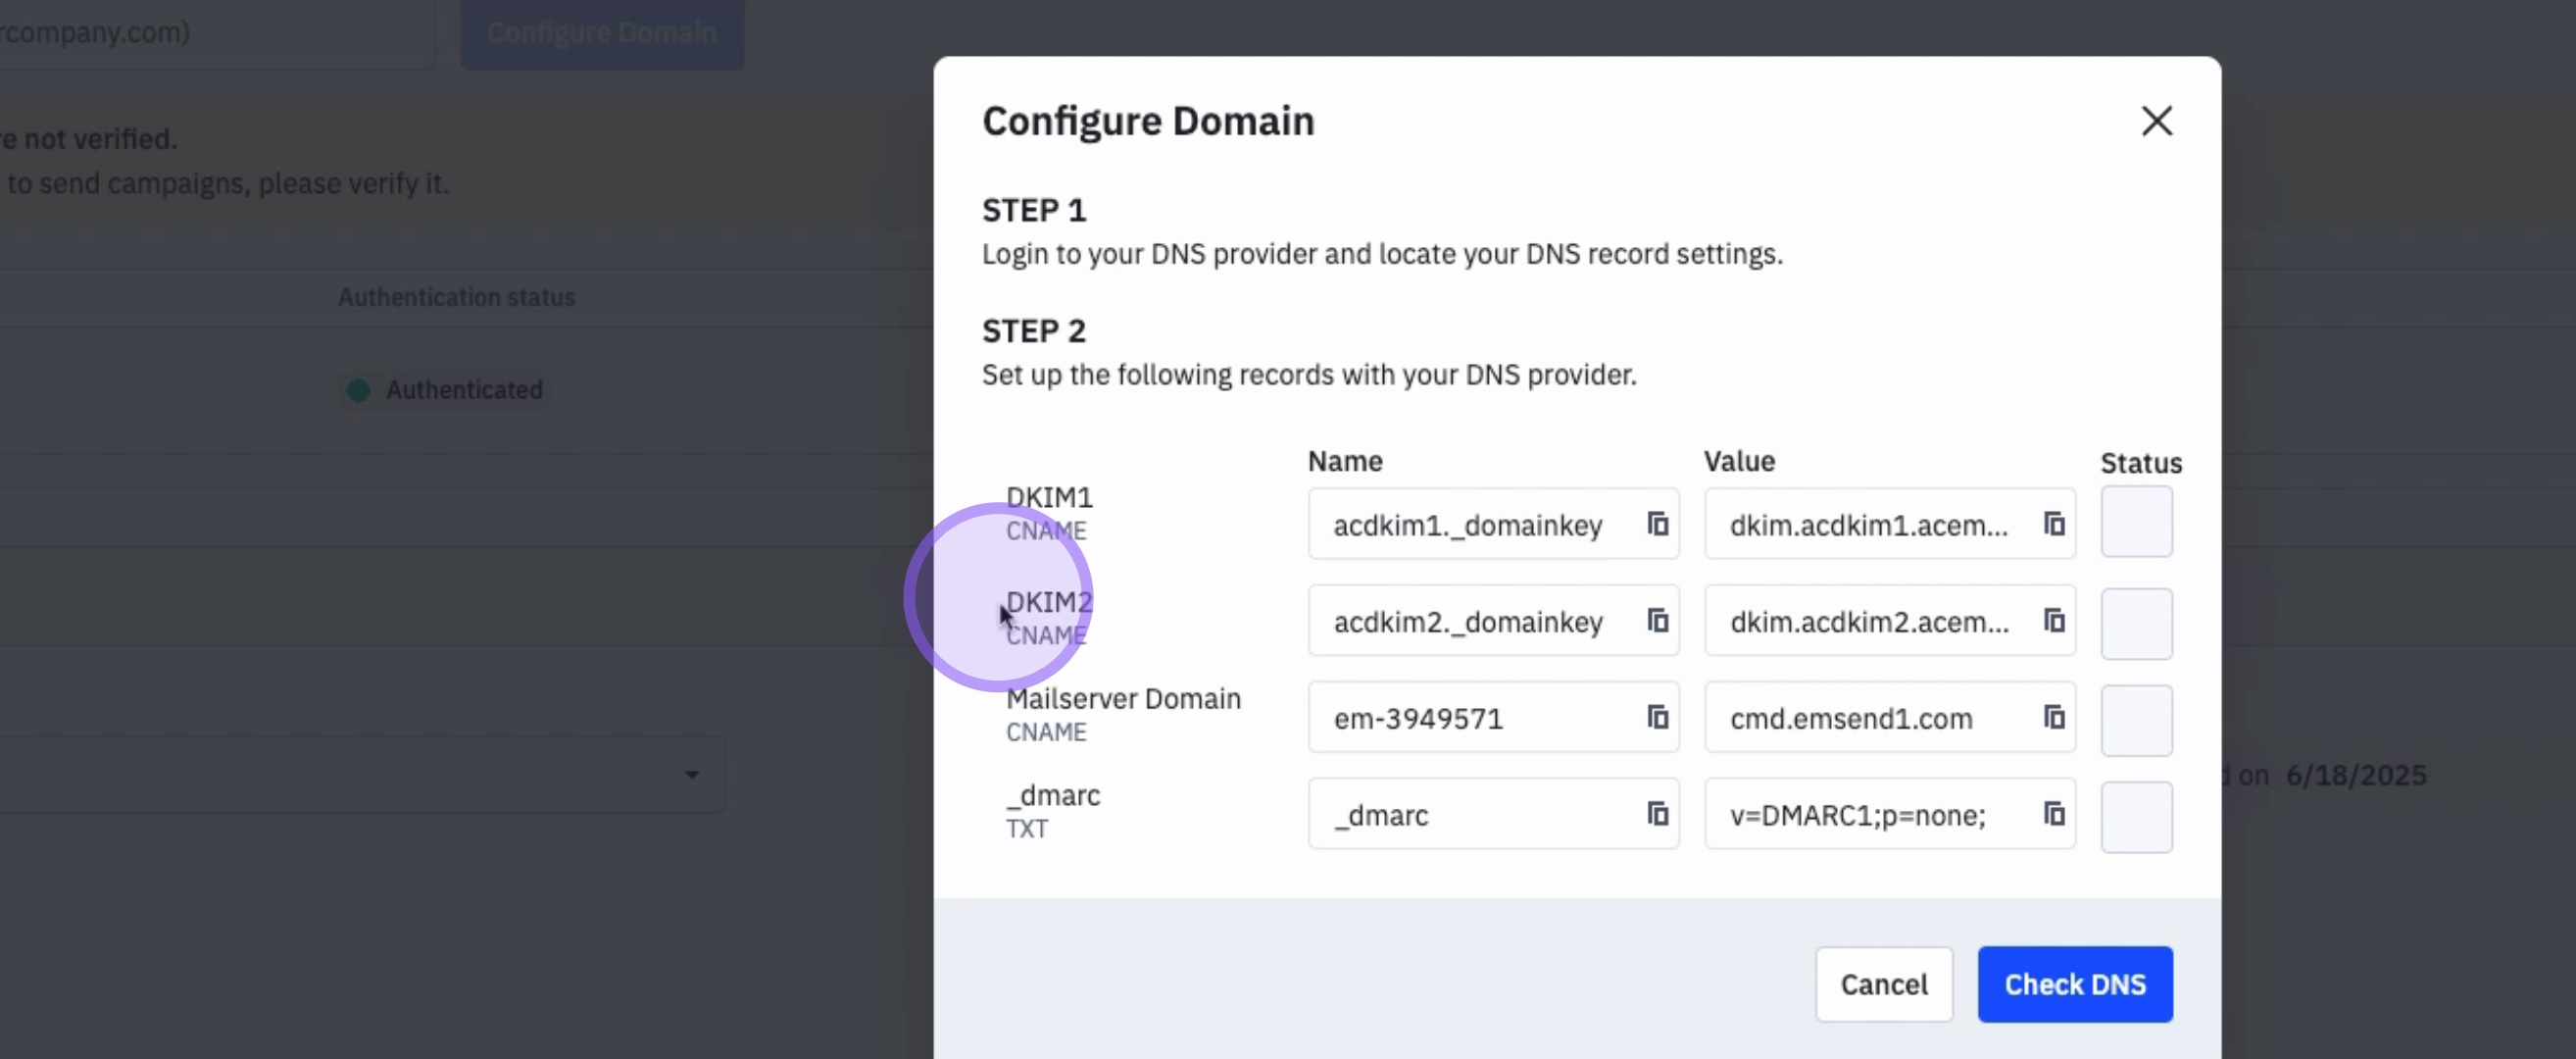
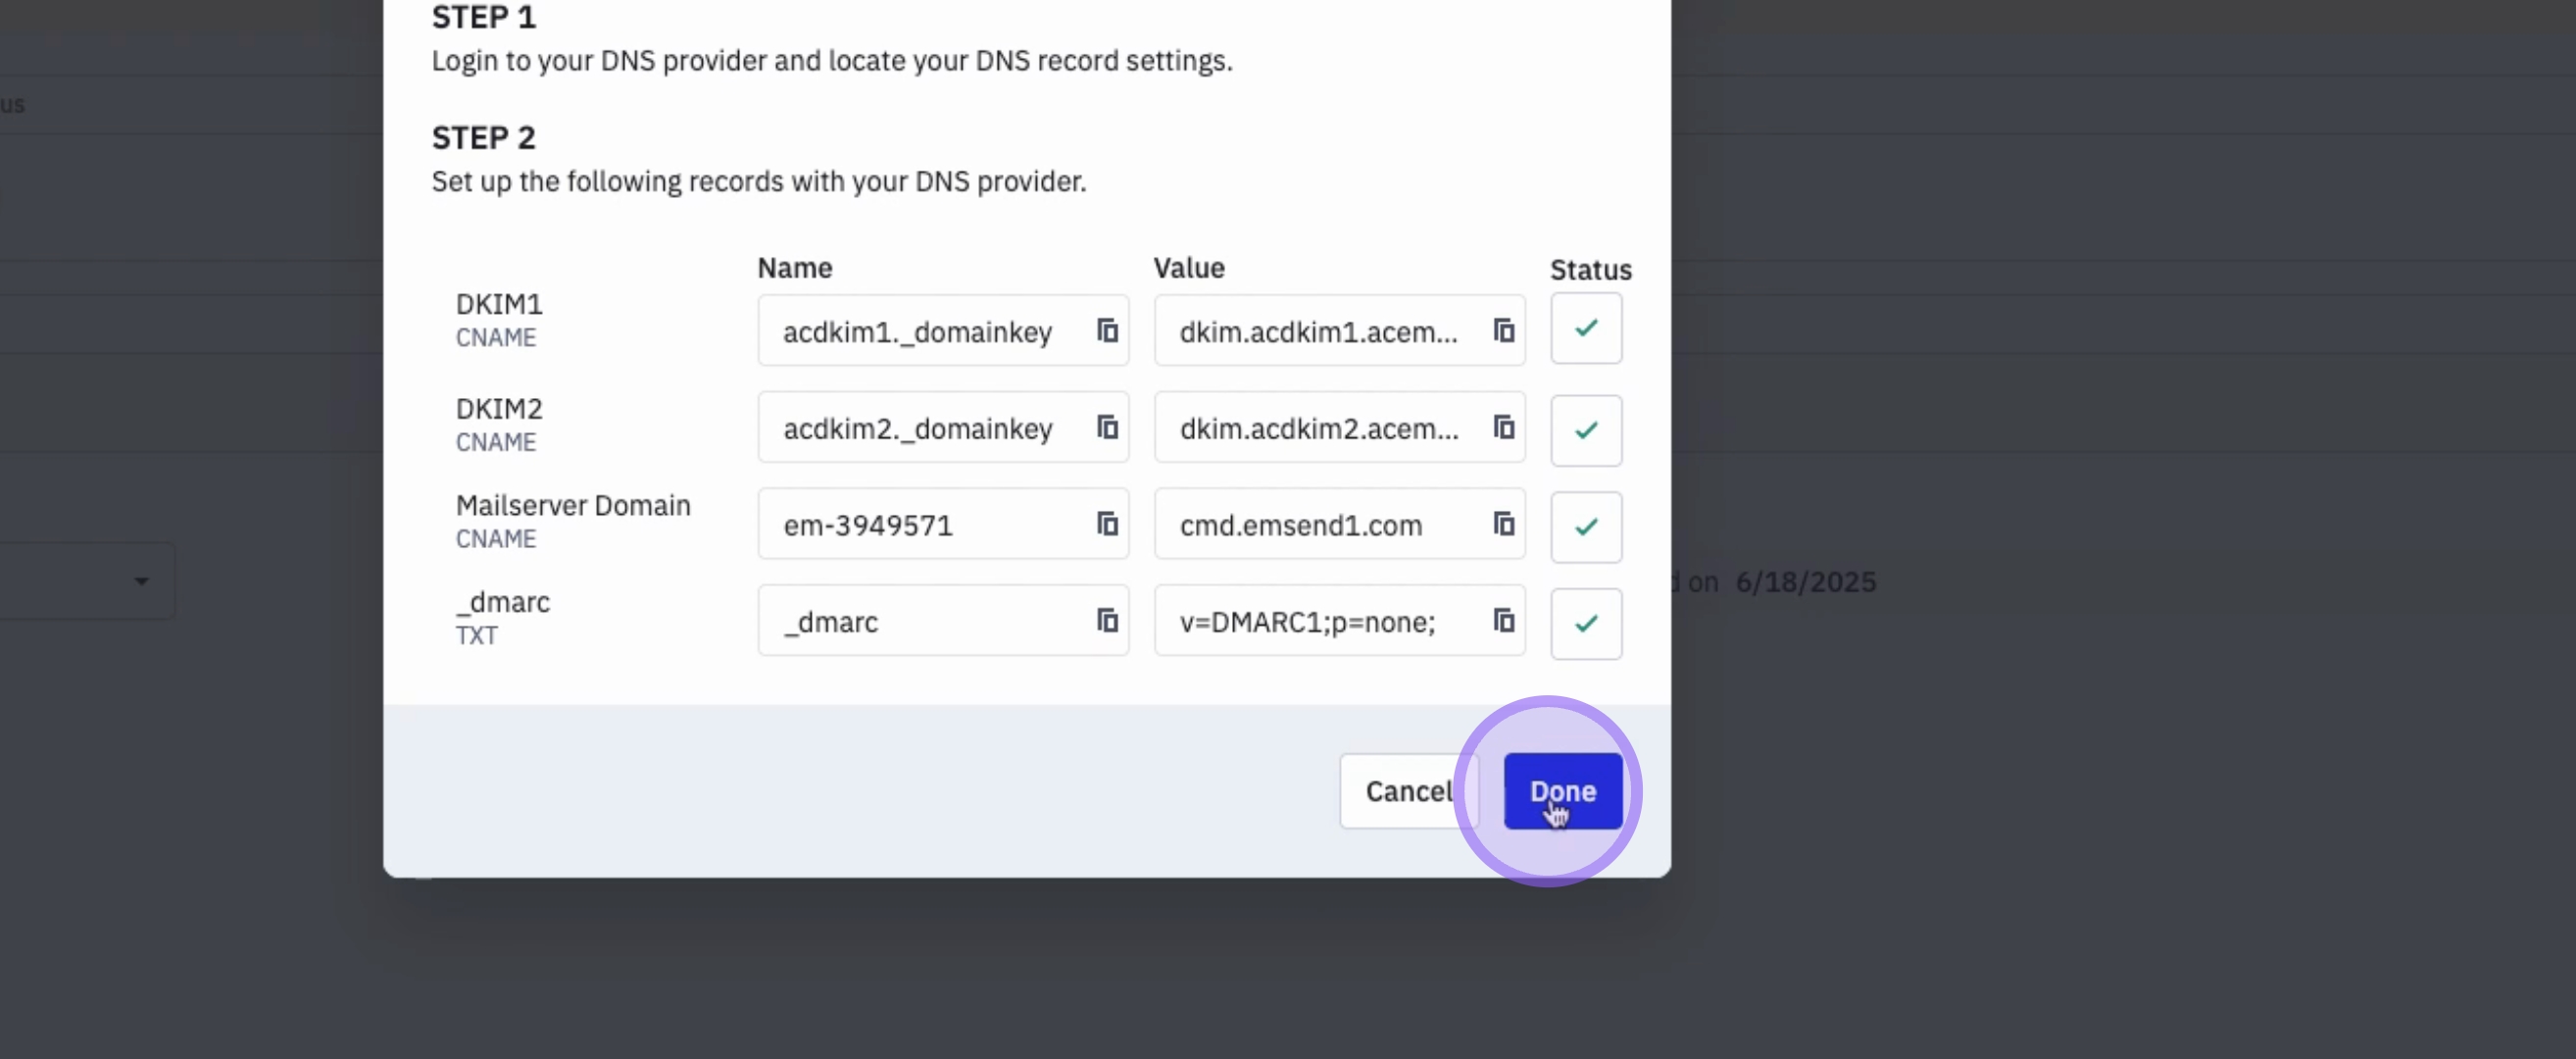
5. Review DNS Records
ActiveCampaign will share the necessary DNS Records.
6. Install DNS Records
There are four DNS records that you need to install in your DNS provider.
7. Locate Your DNS Provider
Your DNS provider is often located where you manage your domains.
8. Add the First DNS Record (DKIM1)
The first DNS record you need to add is DKIM1. You have the name here that you can copy, along with the corresponding value. Ensure you add both the name and the value in your DNS record located in your DNS provider.
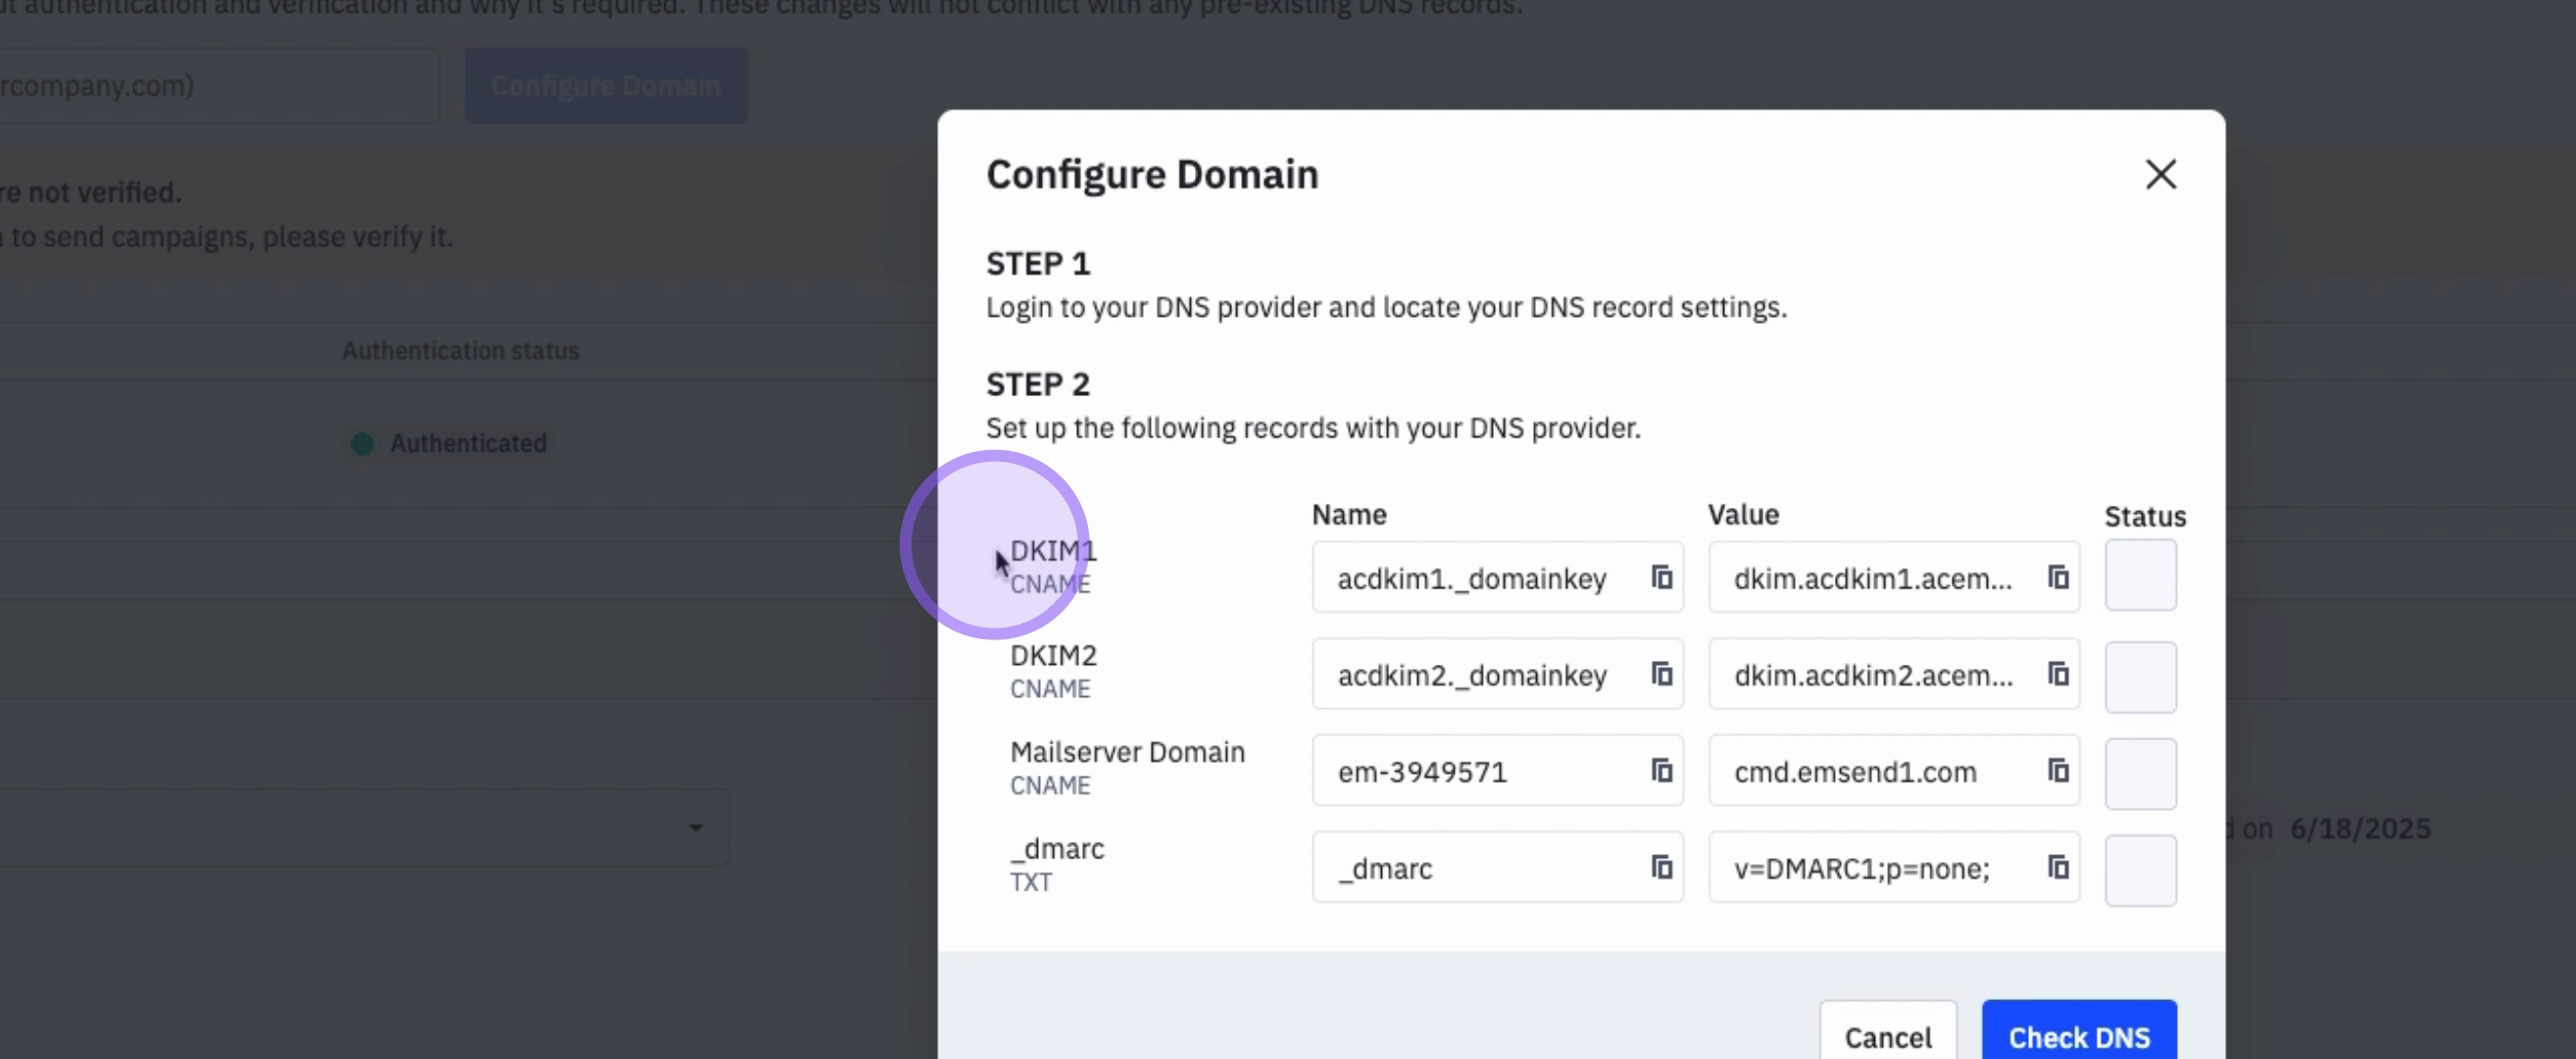
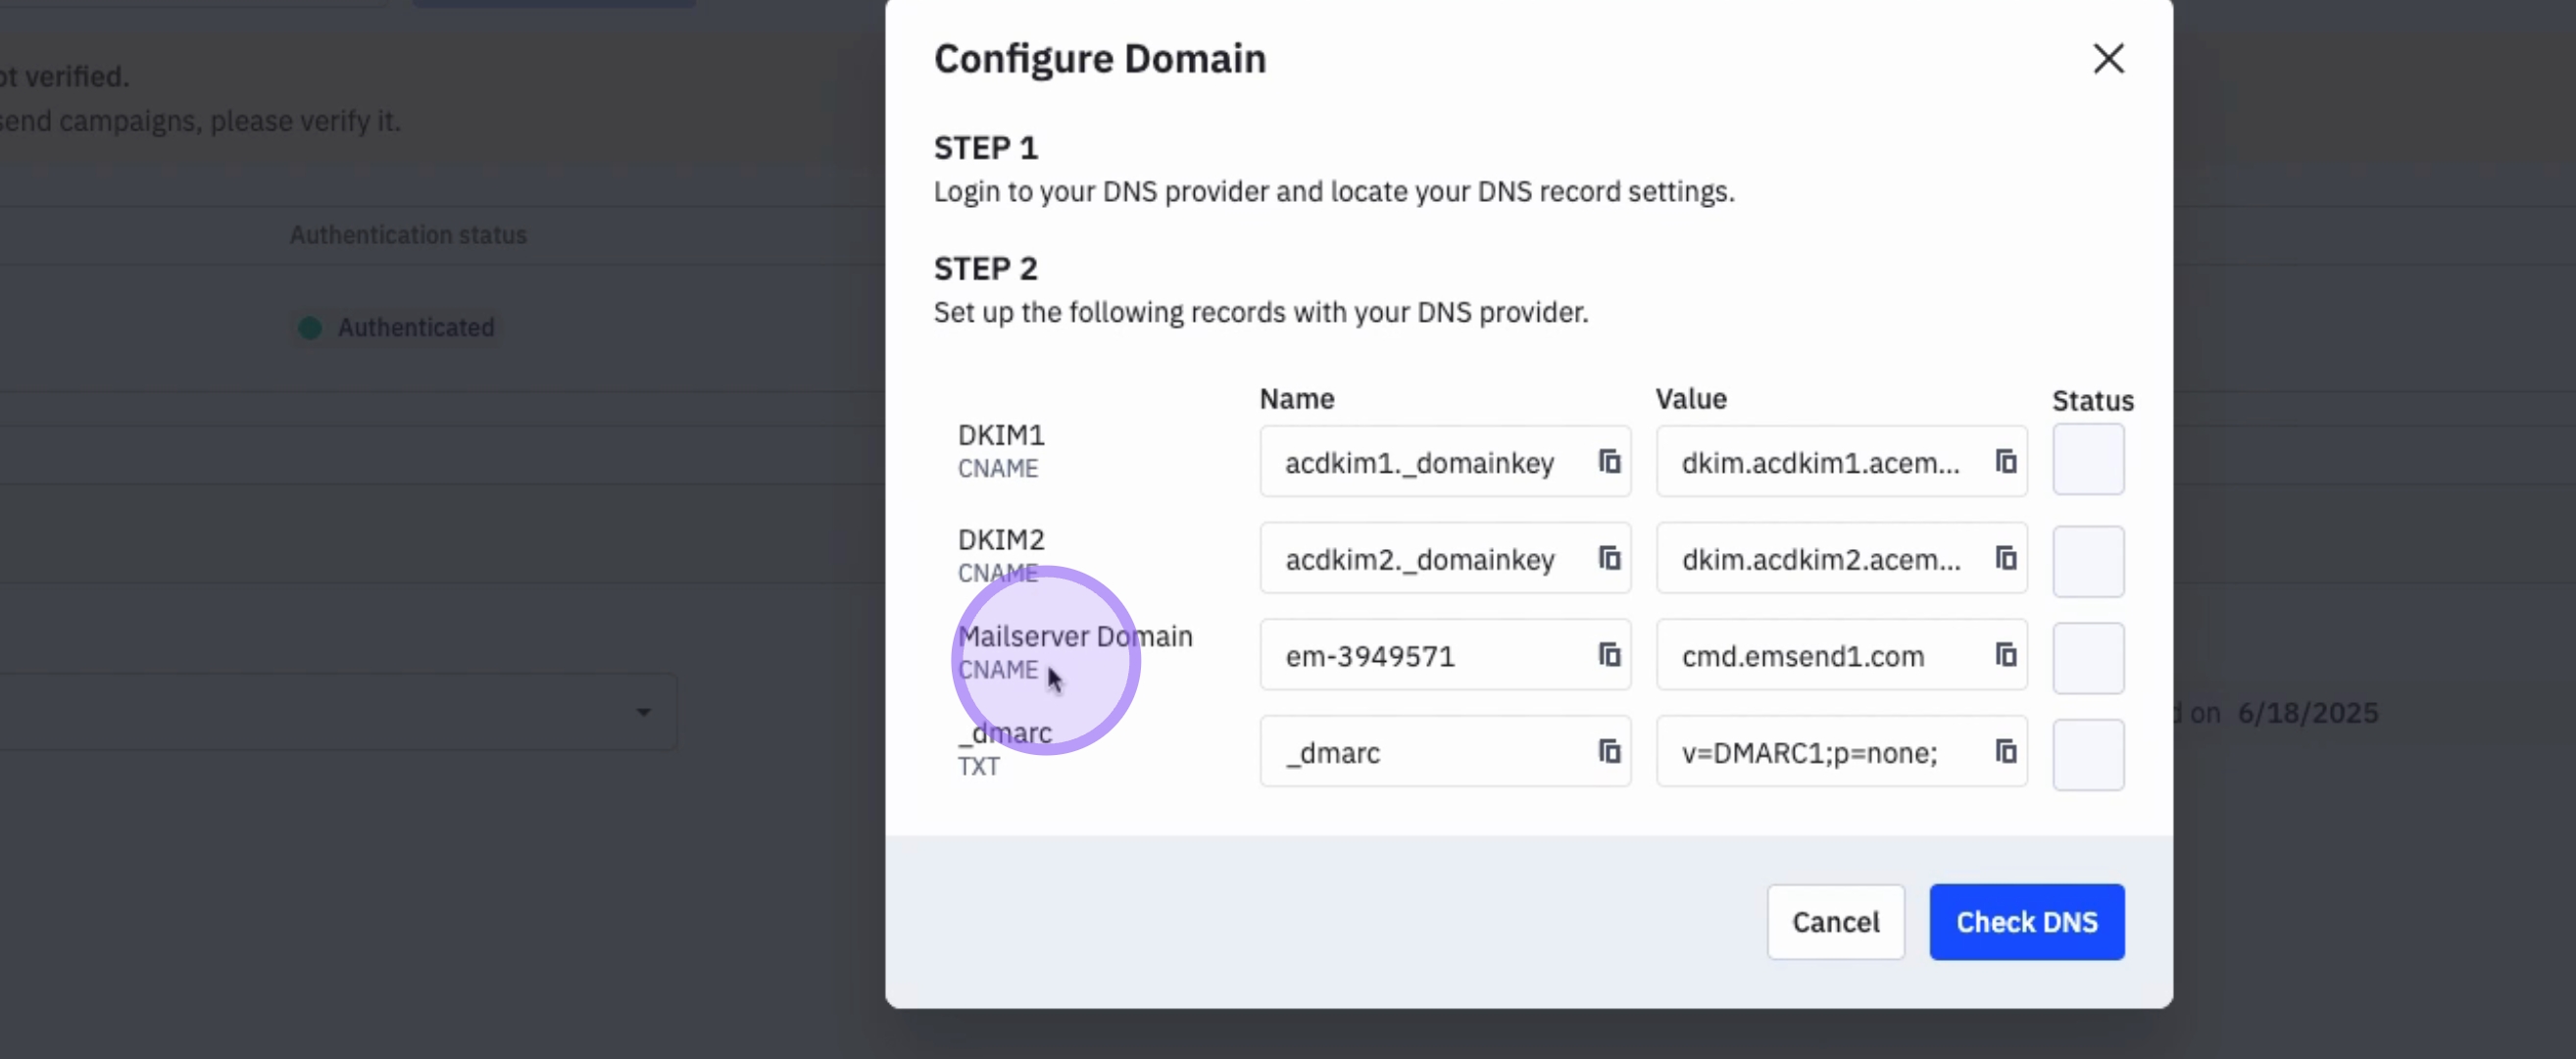
9. Add the Second DNS Record (DKIM2)
The second DNS record is DKIM2. Again, copy the name and the value provided.
10. Add the Third DNS Record (CNAME)
The third record is also a CNAME record. Ensure you copy both the name and the value.
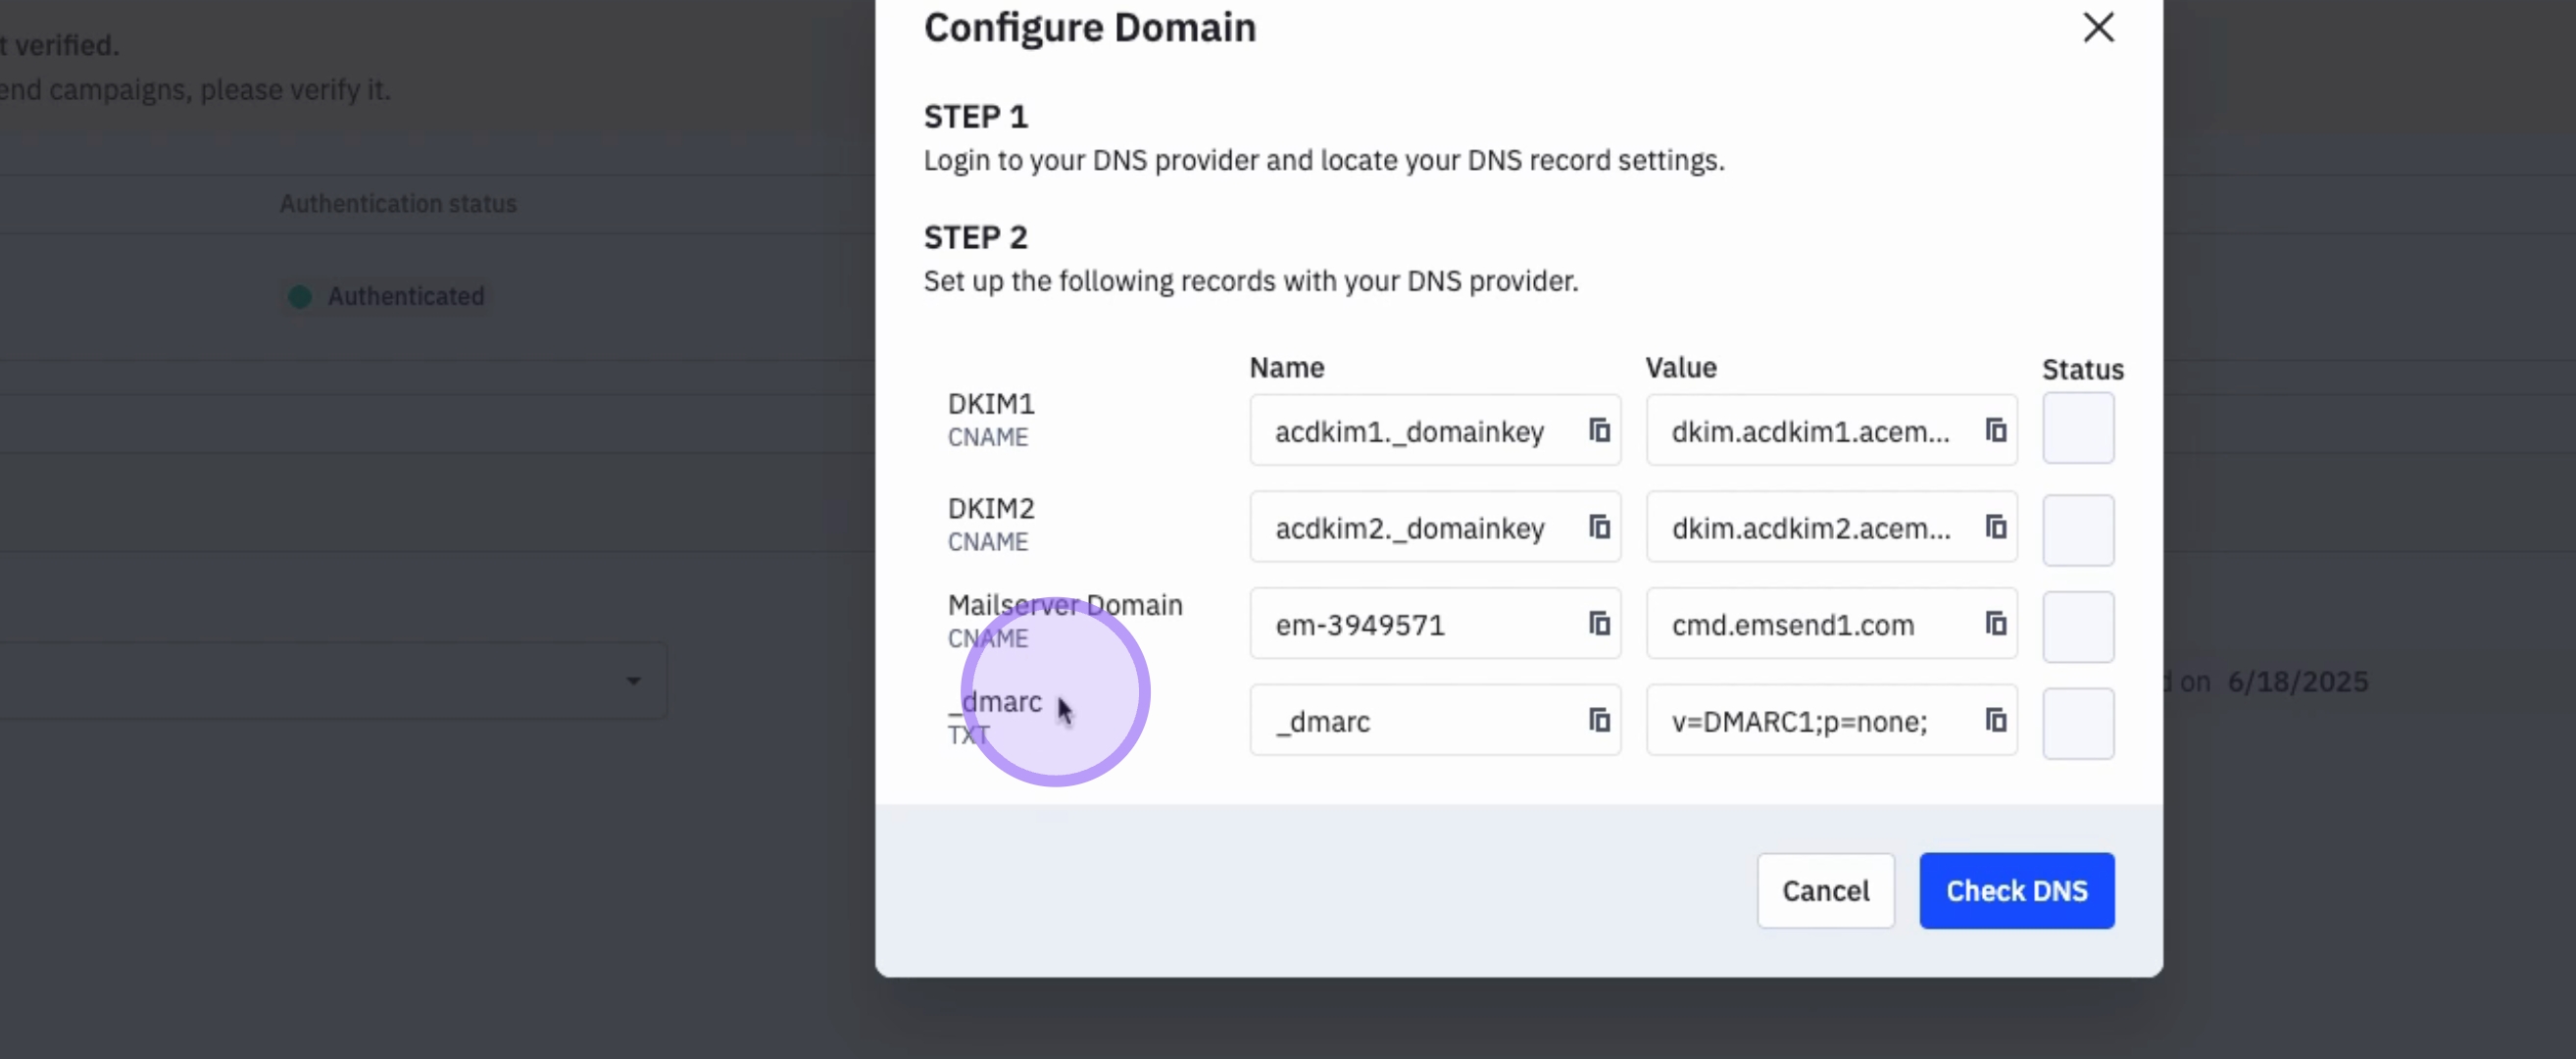
11. Add the Fourth DNS Record (DMARC)
The last record you need is a DMARC or text record. Make sure to copy both the name and value.
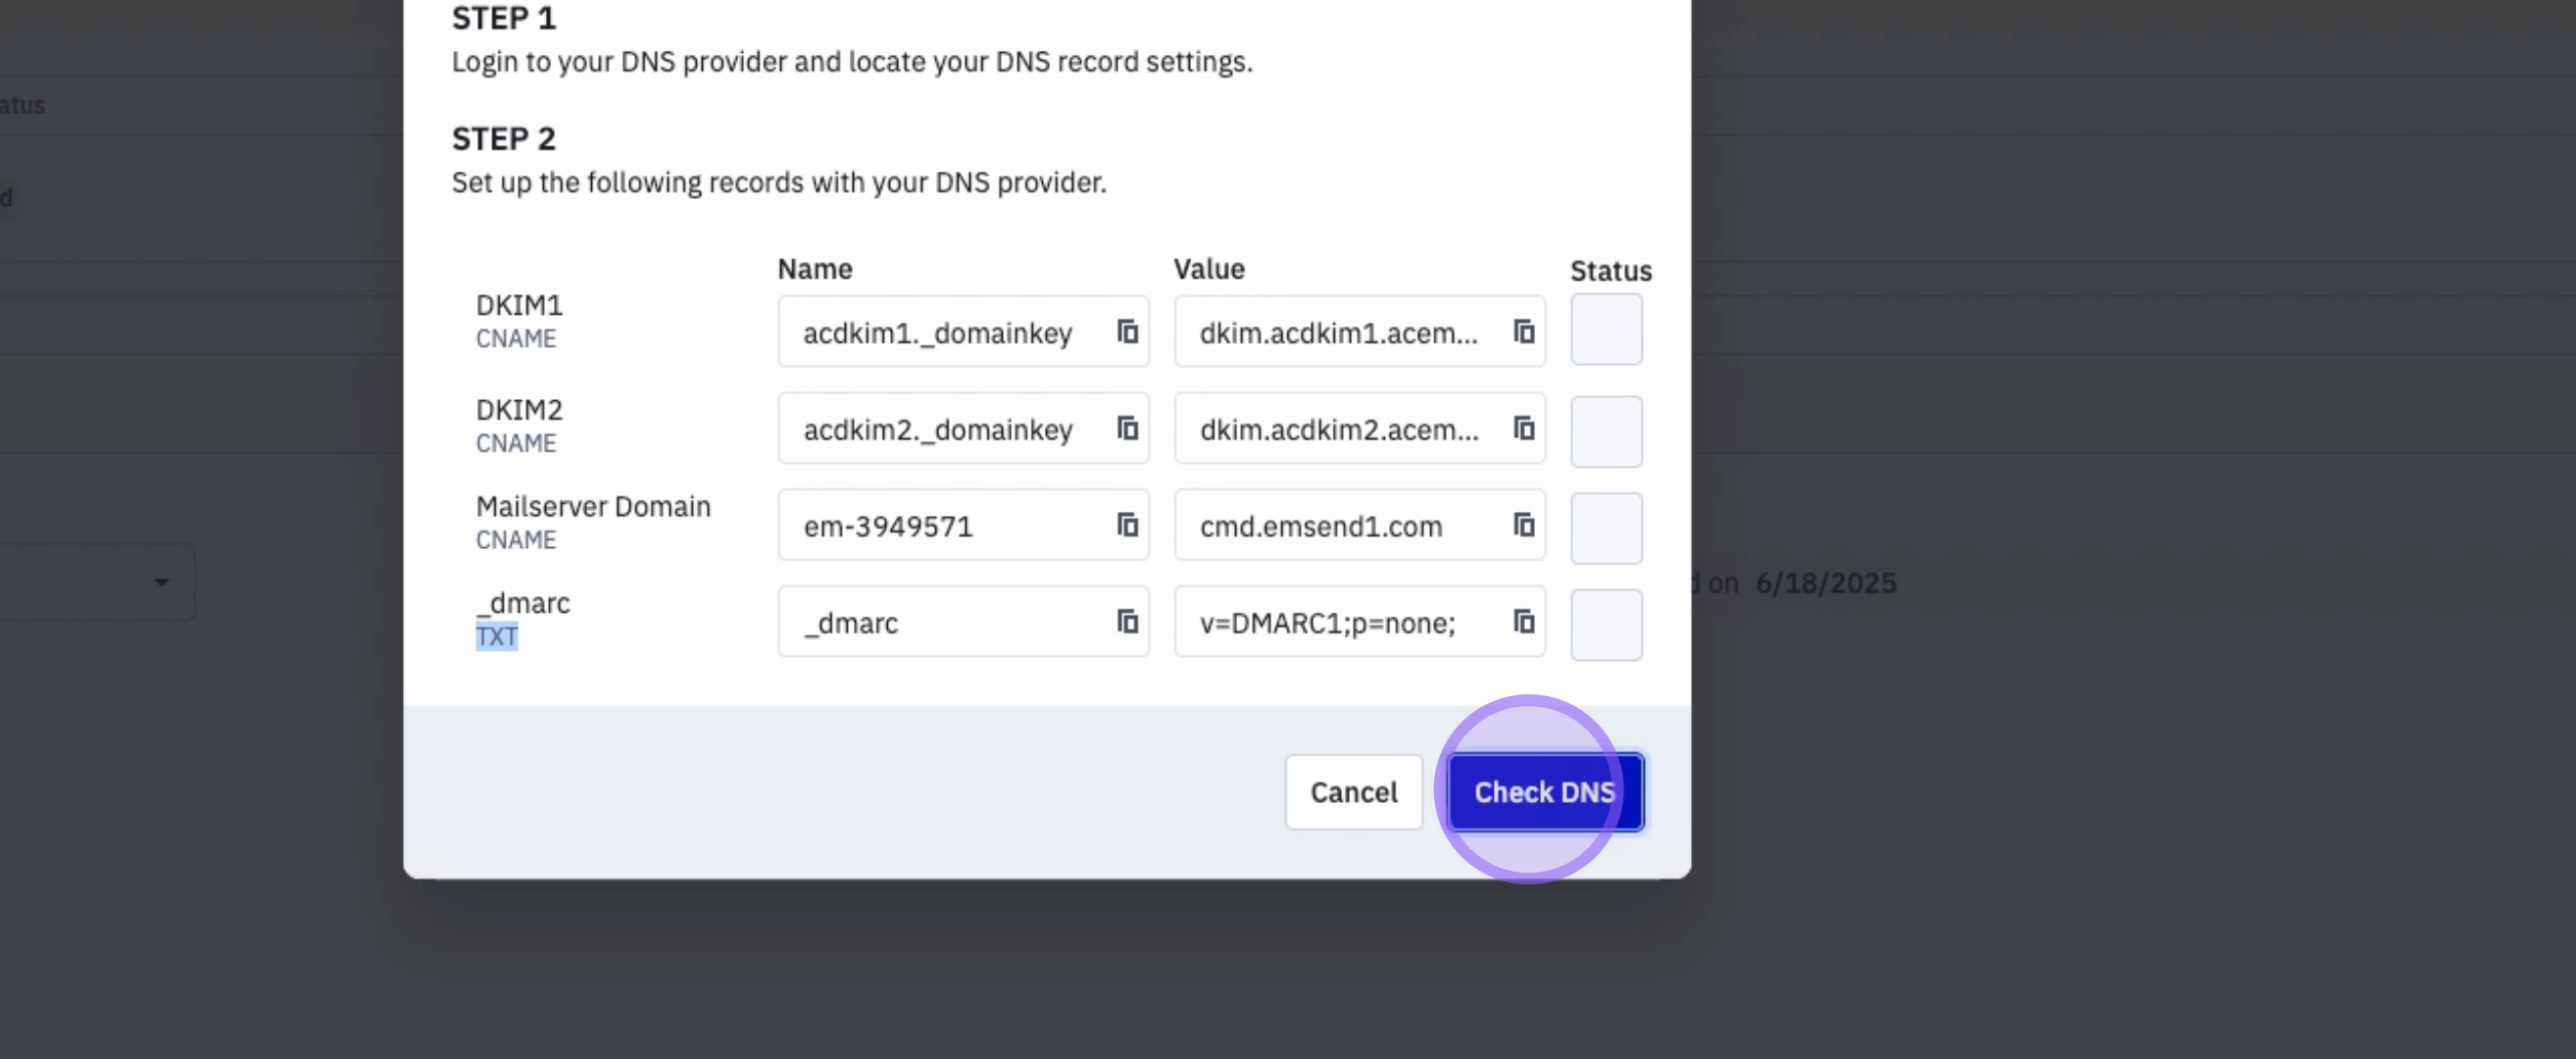
12. Check DNS
After adding those four records to your DNS provider, click on Check DNS.
13. Verify Record Success
If the records were correctly added, you will see a green check mark indicating that the record has been applied successfully.
14. Complete Domain Configuration
Once that is done, click on Done.
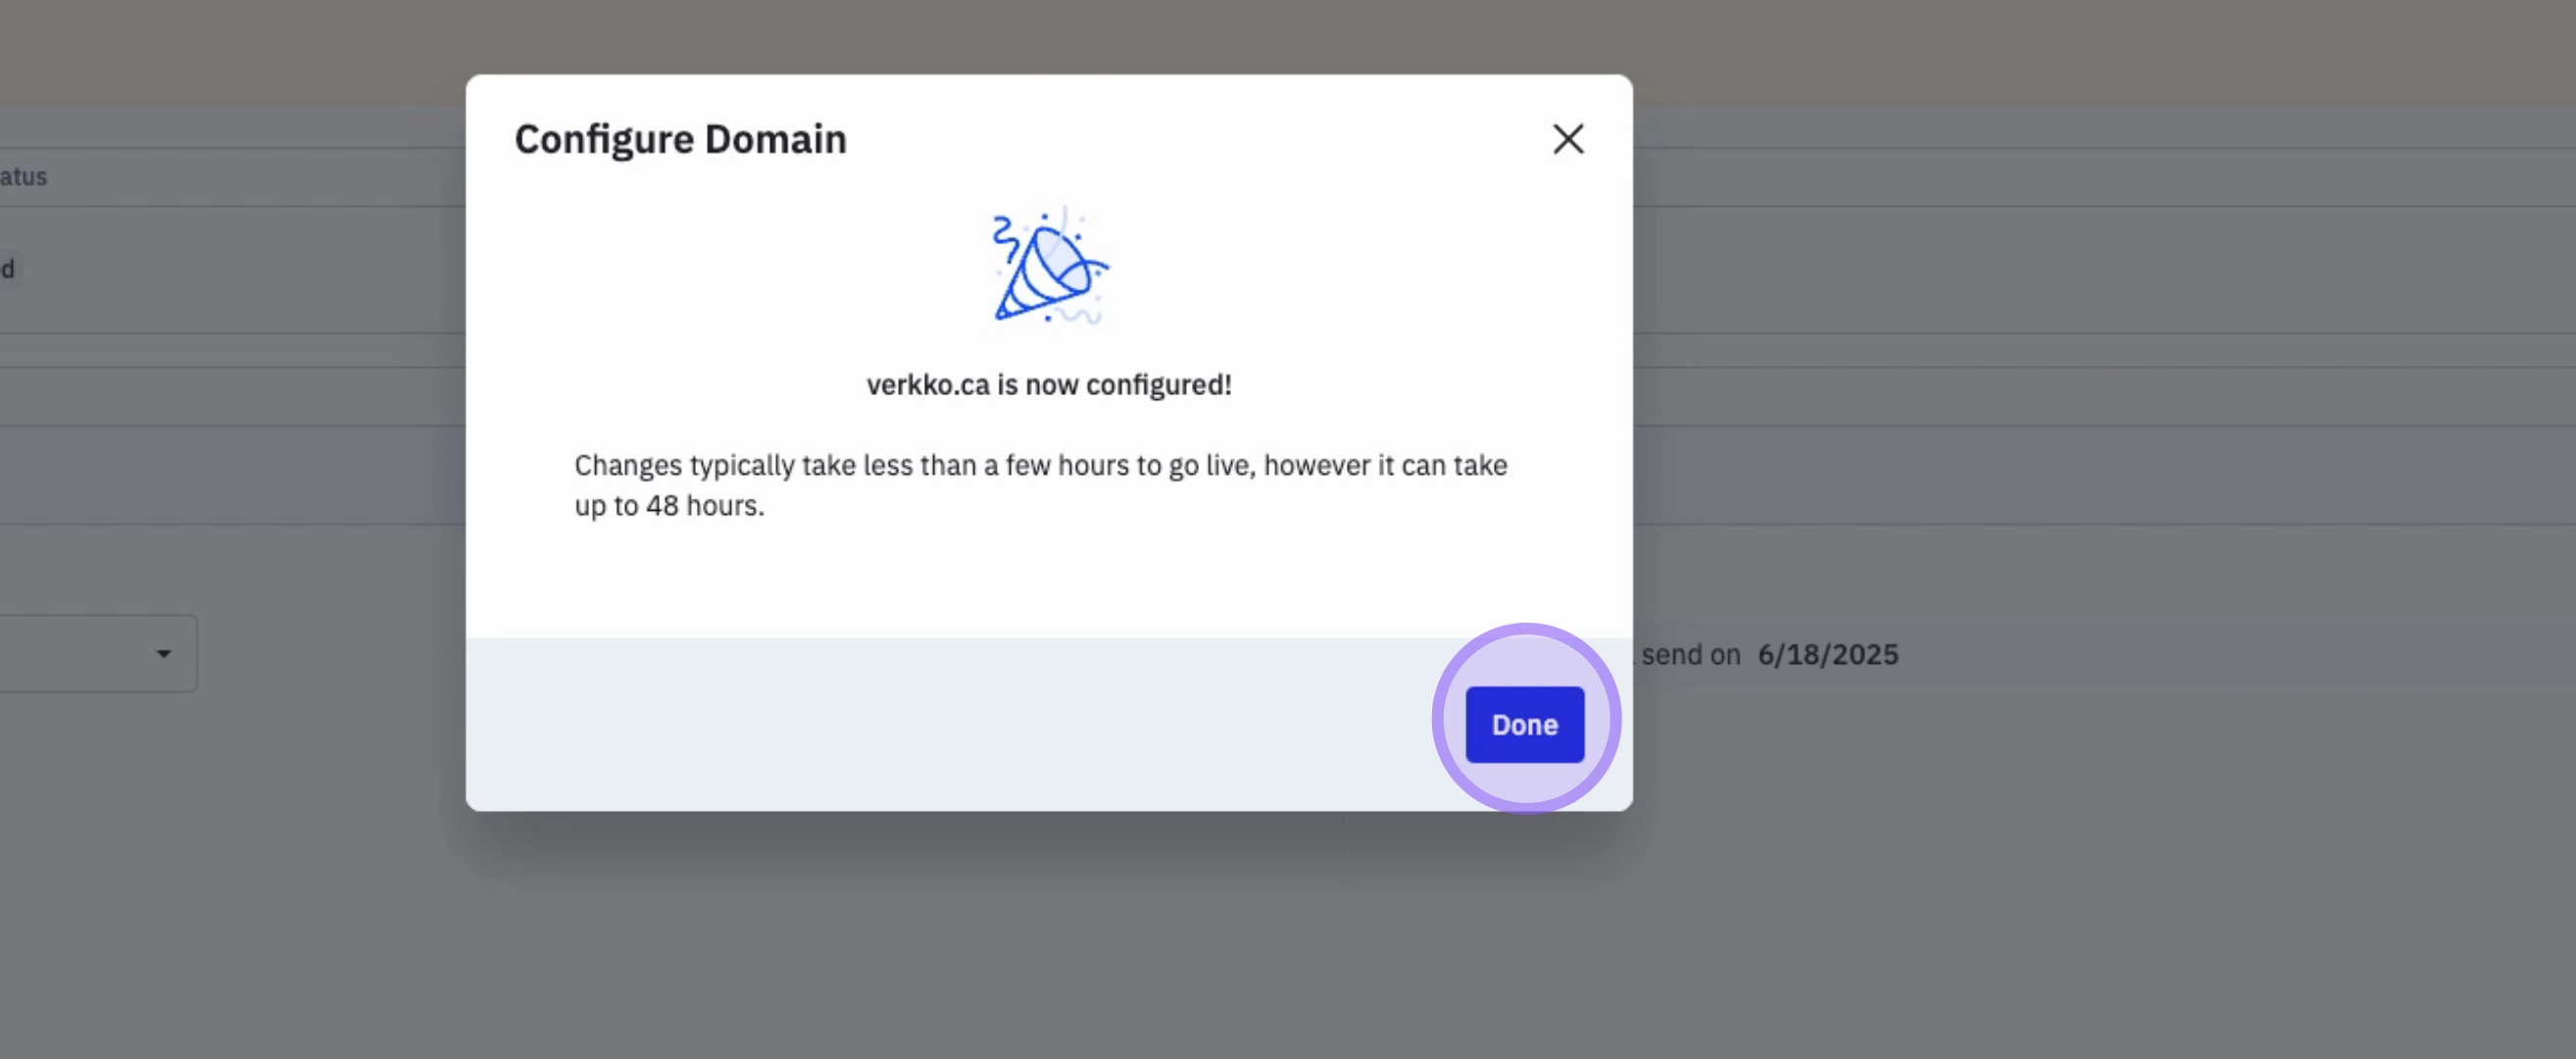
15. Domain Configuration Status
Your domain is now configured.
16. Note on Changes Propagation
Please note that changes can take a few hours to propagate.
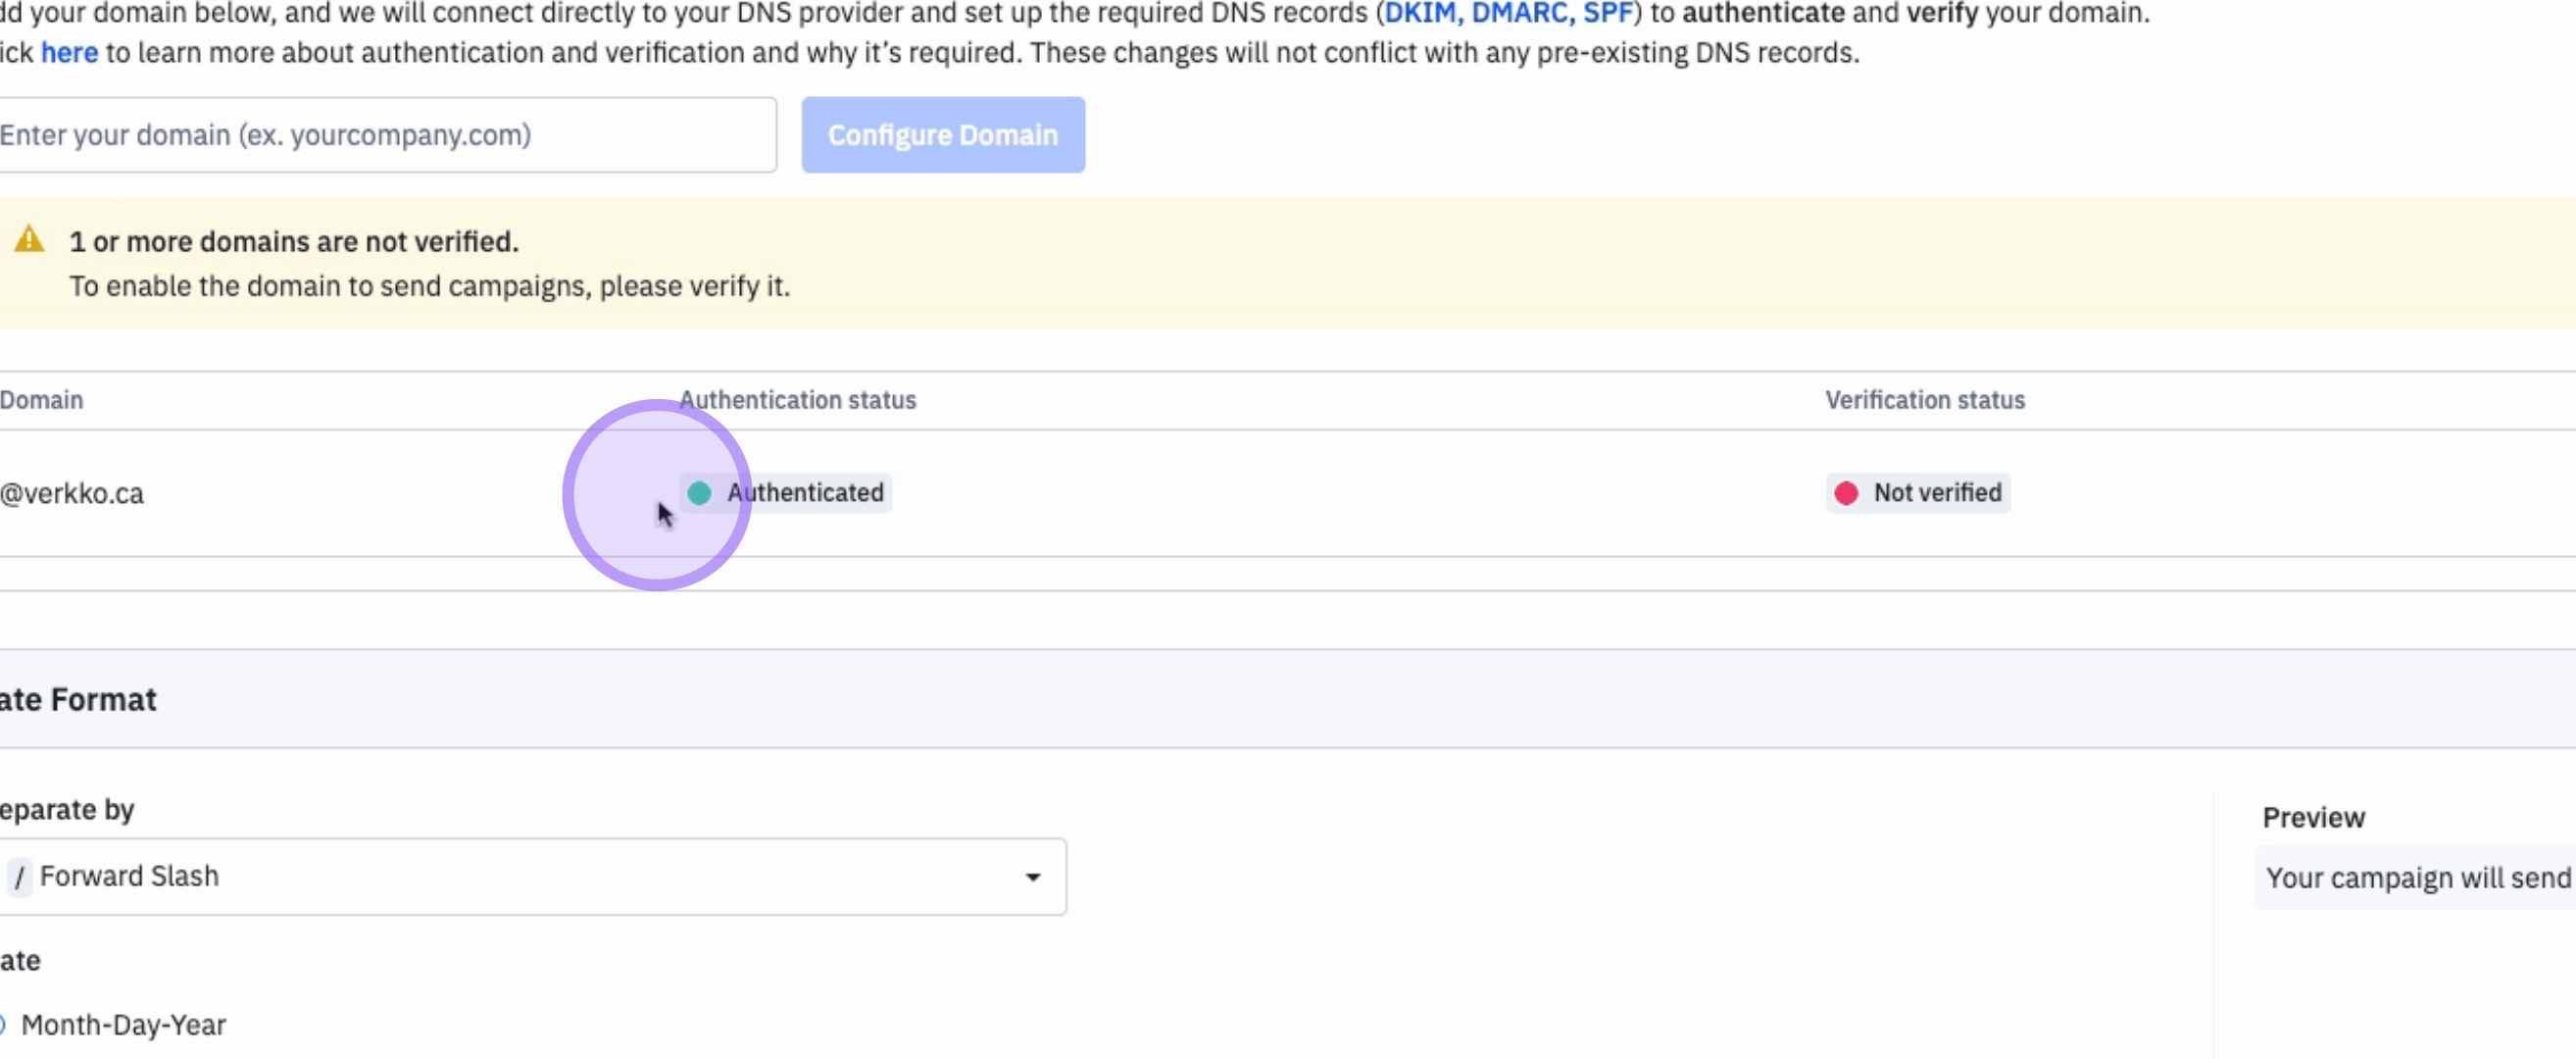
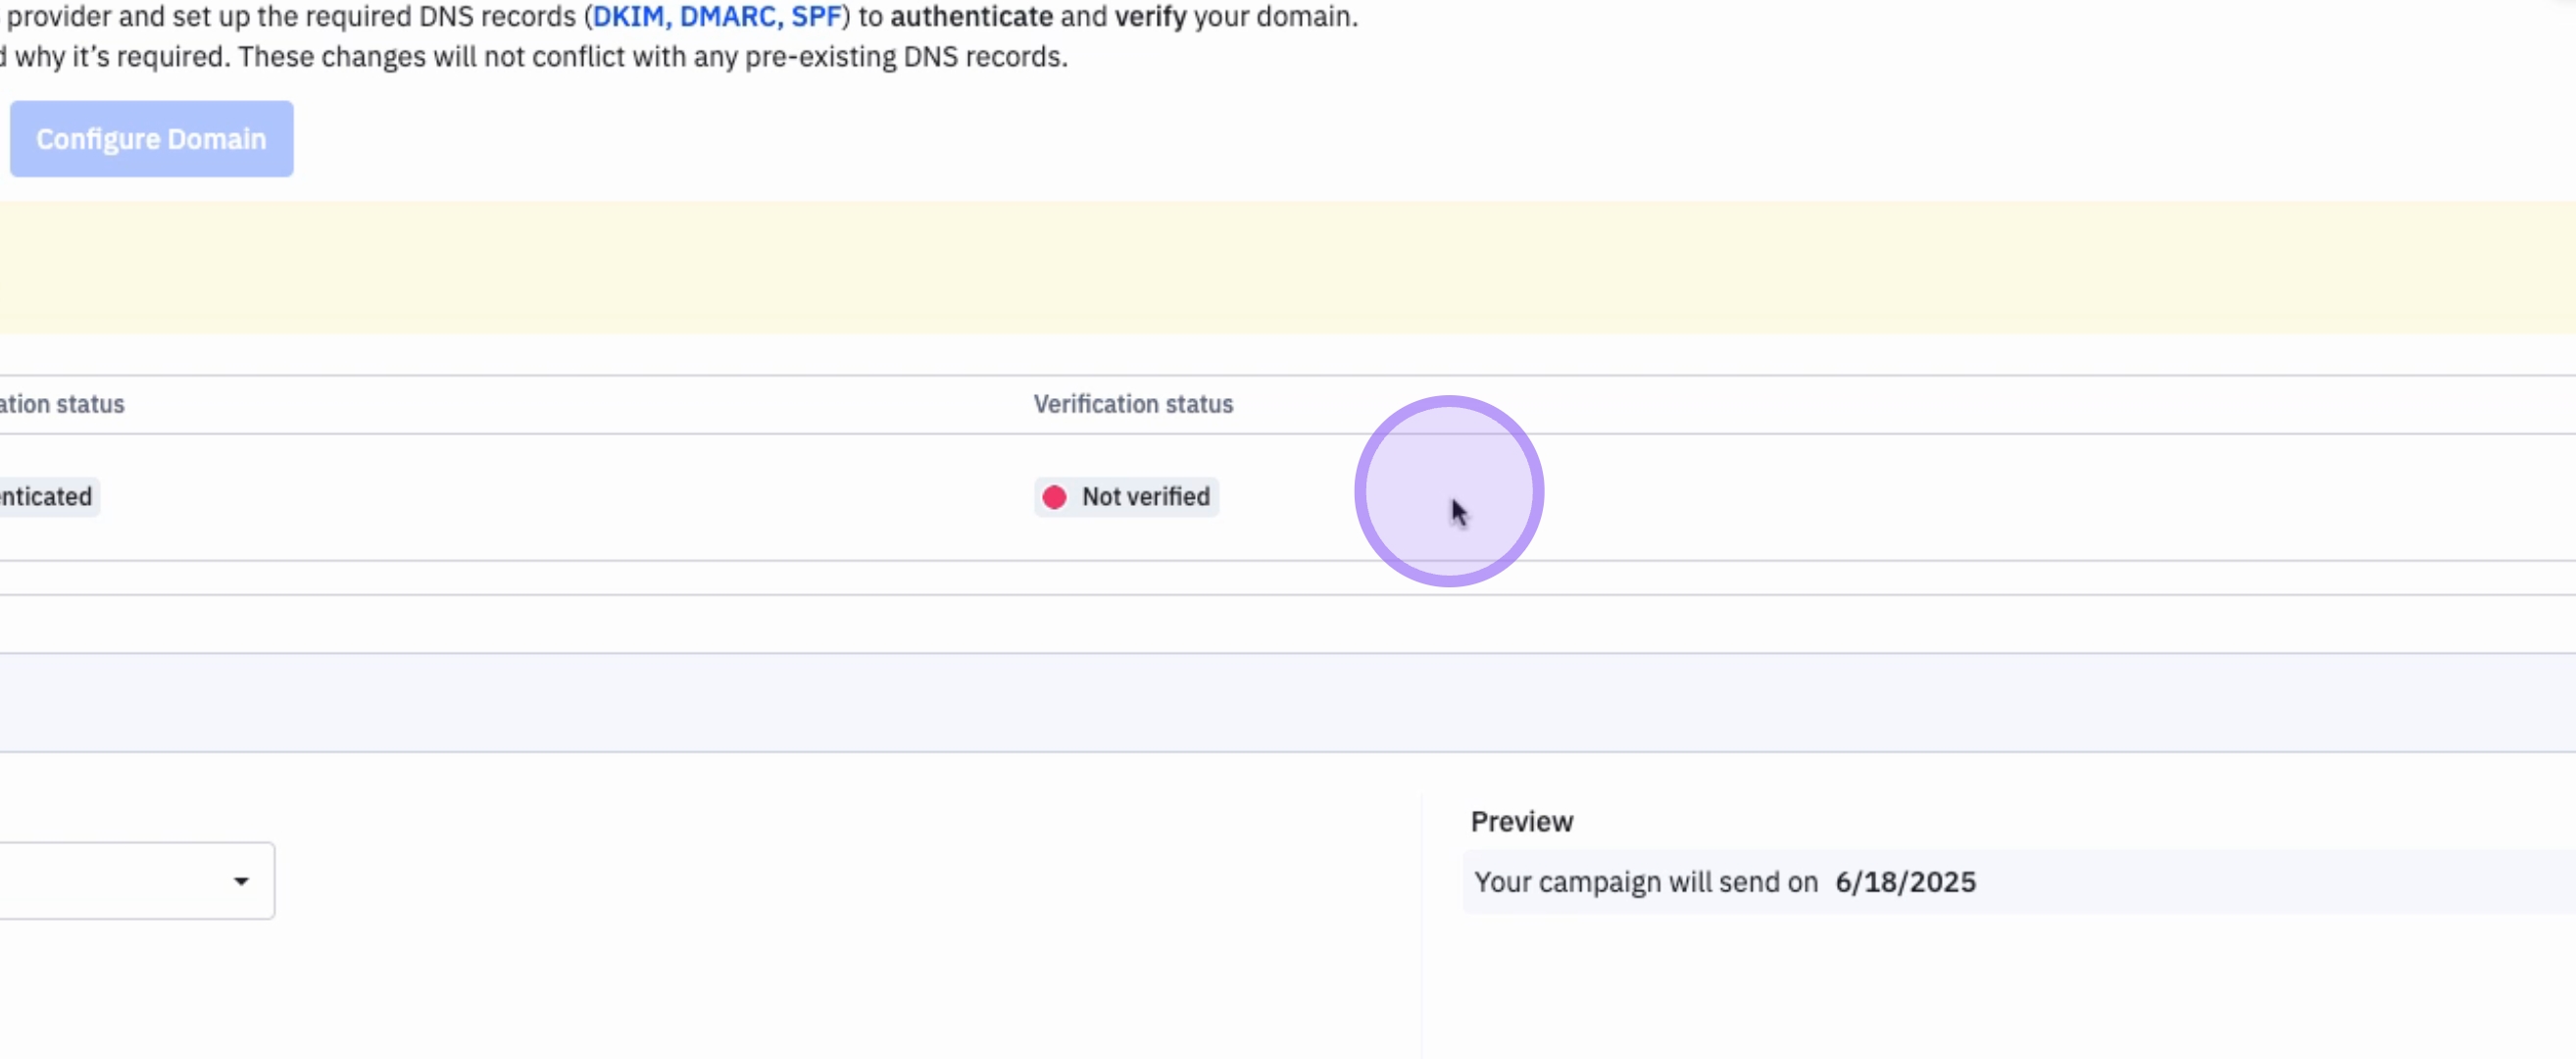
17. Check Authentication Status
You can verify the status of your domain at any time by checking the authentication status.
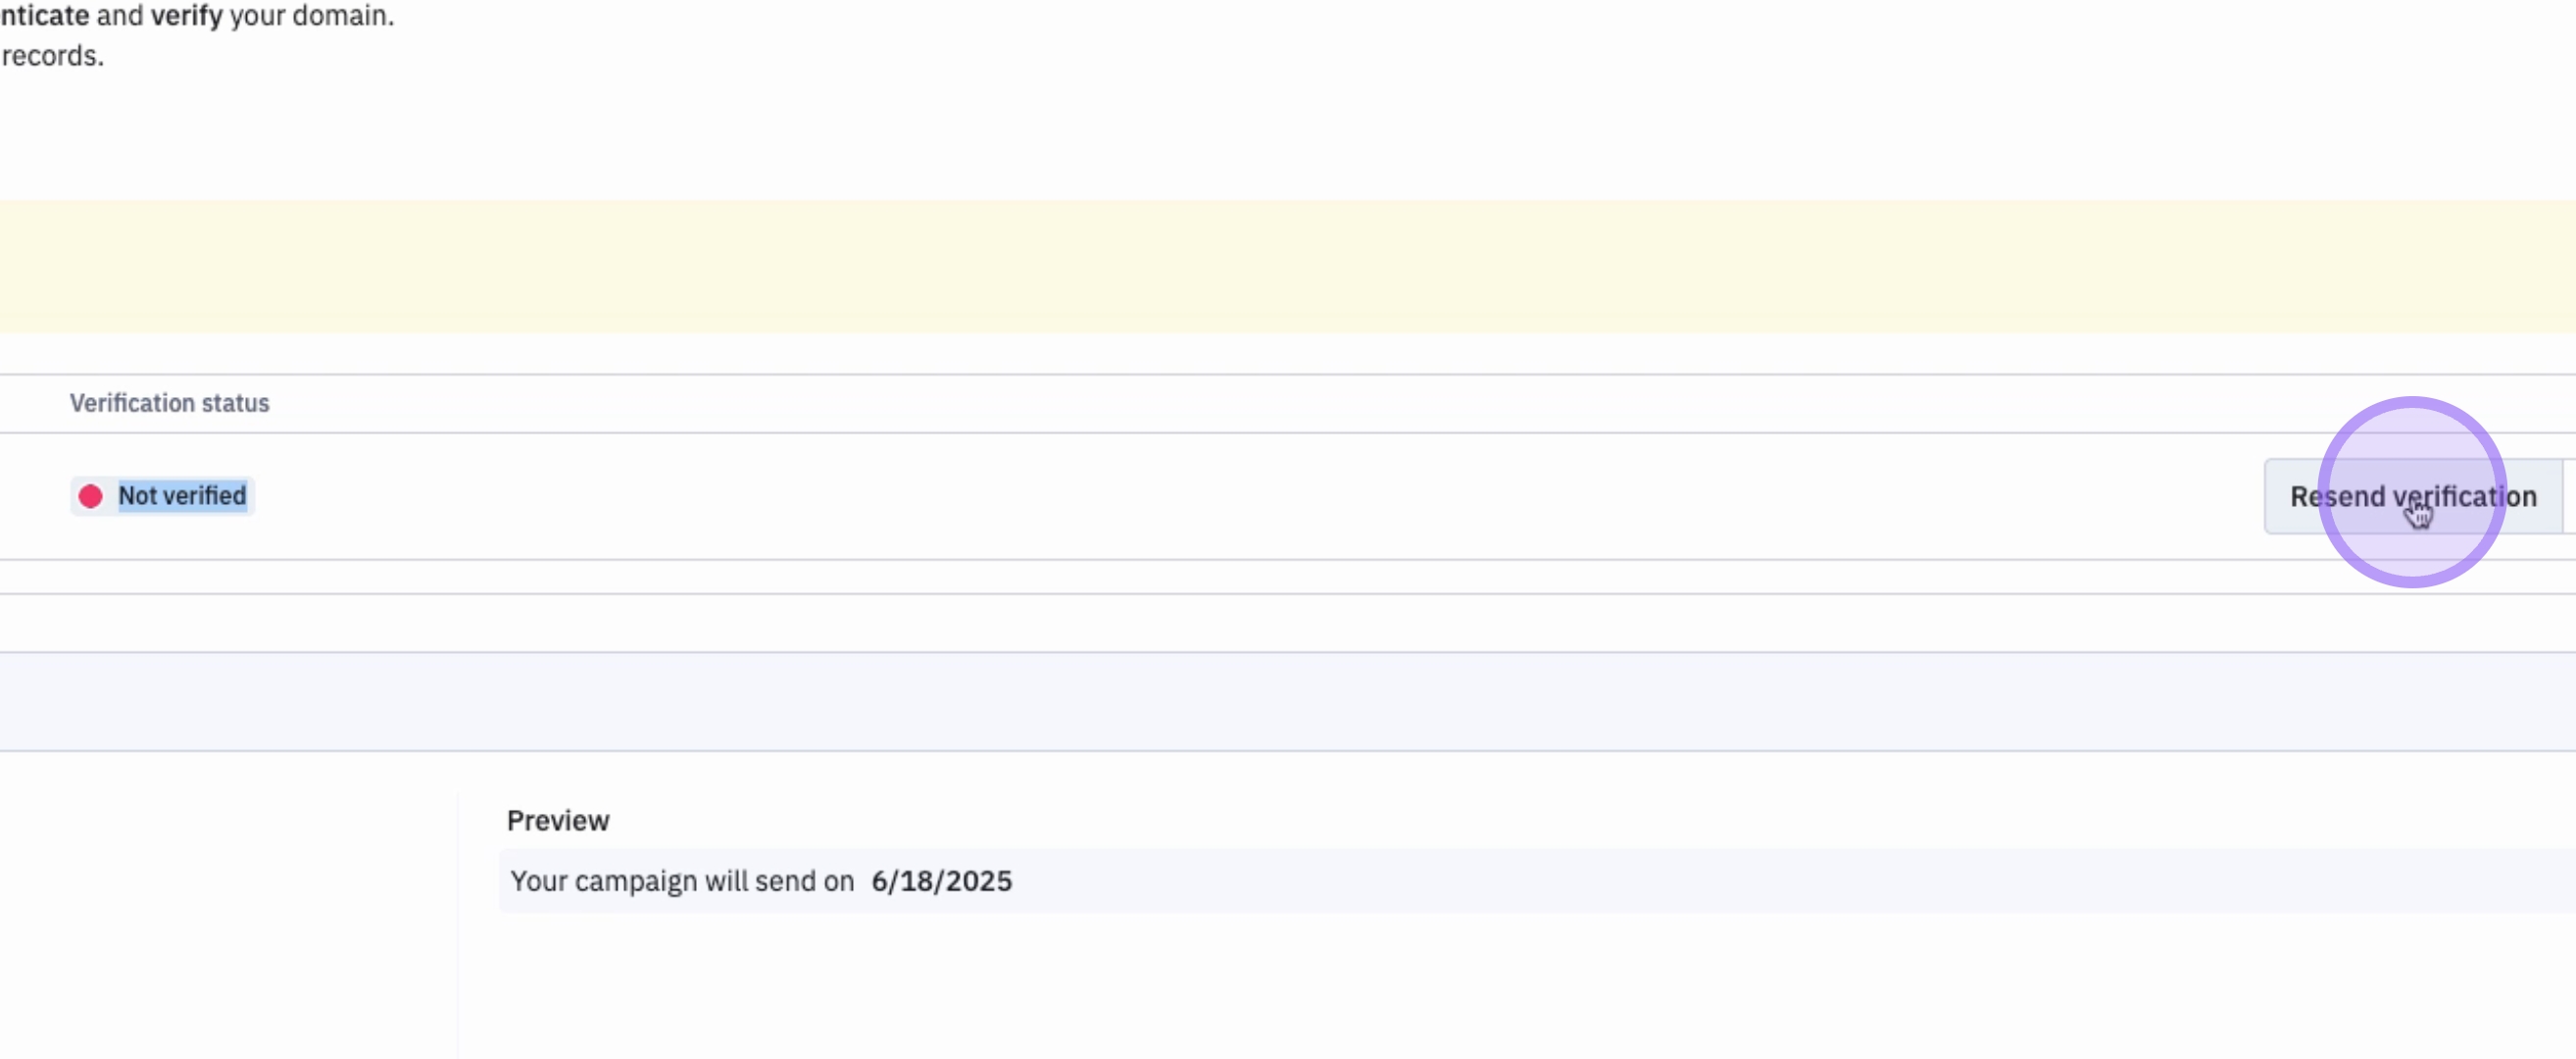
18. Resend Verification
If you have not already done so, you can also verify your domain. To do that, click on Resend Verification.
19. Enter Email for Verification
You will need to enter your email to receive the verification email.
20. Await Verification Email
ActiveCampaign will send a verification email to validate your email address and domain.

21. Completion of Verification
Once that has been completed, you will see a green check mark under Verification status.
22. Authentication Complete
Your authentication is now complete.
Conclusion
By following these steps, you have successfully authenticated your domain on ActiveCampaign, ensuring that your emails are sent securely and are verified to come from your business.